It's been a long time coming, but this week I finally completed the first of the two windows in bedroom 1.
Before re-assembling it, I took advantage of the nice big aperture to climb out onto the bay window and do a spot of re-pointing. There was a gap of about 5mm between the lintel and the outer frame. Likewise down one side, so I mixed up a bit of mortar and set about filling this. Whilst at it, I saw there were quite a few gaps between some of the bricks, requiring re-pointing so I did what I could reach of these too.
Next, the weights... I now had a full compliment of 10lb weights to do both windows. I cut some of the new sash cord slightly over length, knotted one end and fed it through the top of the weight.
Then, a nail was tied to a length of thread and fed over the pulley. The weight of the nail pulled the thread down inside the casing whilst the other end of the thread was temporarily secured at the top with a piece of masking tape.
With the nail removed, the thread was tied to the end of the new sash cord and bound tight with a strip of insulating tape.
...and then the weight was pulled up into the pocket in the casing. Obviously, the new 10lb weights are much longer than the old ones and therefore only just fitted through the aperture!!
This process was repeated for the other 3 pulleys.
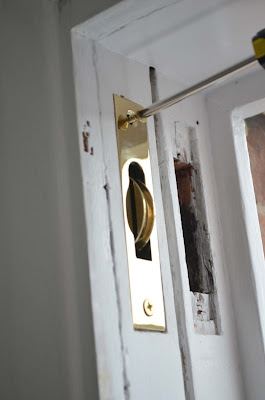
The weight pockets were then closed up and secured with a single screw.
Next, the upper sash was lifted into position. The cords were inserted into the channels, pulled to the correct length, tied off and the excess trimmed off.
With the upper sash in place, the new parting beads could be installed. As this is only 6mm thick, I took the precaution of pre-drilling the nail holes to prevent the wood from splitting.
They were then inserted into the slots in the frame and the nails driven home.
With the lower sash inserted in the same way as the upper, the new staff beads could be fitted. Again, I pre-drilled the nail holes for these. Staring with the lower bead, I lined it up with the bottom edge of the sash, leaving enough clearance for the sash to slide but not too much to make it draughty. The side beads were installed in the same way, starting at the bottom so as to align with the lower bead, then working upwards, sliding the sash as I went, to ensure there was a consistent gap. Finally the upper bead was installed to meet the side beads at the corners.
The finishing touch is the new brass Brighton fastener.
So, with the re-assembly taking no more than half a day, I set about removing the second window. By the end of the day, this was out and boarded up.
The sashes needed much the same treatment as the first set. I've added a thin strip of oak to the bottom of the lower sash and tapered it to fit the slightly off-square frame. The holes and blemishes have been filled and sanded and the frames primed.
The pocket covers were pretty grotty, so these have been stripped of paint, cleaned up and sanded.


No comments:
Post a Comment