Sunday 21 August 2016

Weekly update 21.08.2016

Picking up where we left off last week, both steps in the kitchen are now complete. The pantry step has had several coats of white masonry paint, then a piece of 6mm stripwood finished in white satinwood provides a neat trim to cover the tile edges.


Likewise with the step into the dining room.


I've taken advantage of the continued good weather to do a few outdoor jobs. The back gate and fence was in need of a bit of weatherproofing so it's had another coat of Creocote. The latch needed a bit of adjustment and now catches automatically when the gate is closed.


And the paint on a section of the bathroom fascia board had started to fail already, so this was stripped back to the bare timber and treated with Ronseal wood hardener before being filled, primed, undercoated and topcoated in black gloss.


The front door paintwork is now complete so the shiny brass furniture has been re-attached.


The front gate furniture has been cleaned up using a wire brush, then treated with a couple of coats of rust converter, bringing them back to almost new condition.


The gate itself has been in the paint shop this week. Dark grey underdcoat...


...followed by a topcoat of gloss Slate Grey, as used on the front door.


With the second coat of eggshell grey paint dry, the MDF top could be fitted to the TV cupboard. Likewise the wooden door knobs. The rest of the cupboard has been finished in quick dry white satinwood.


Having obtained a couple of quotes for carpets, we've committed to having them fitted this coming Wednesday, so the pressure is now on to get the hallway and stairs completed. First, the front door frame needed a fair bit of filling and sanding to get a reasonable finish.


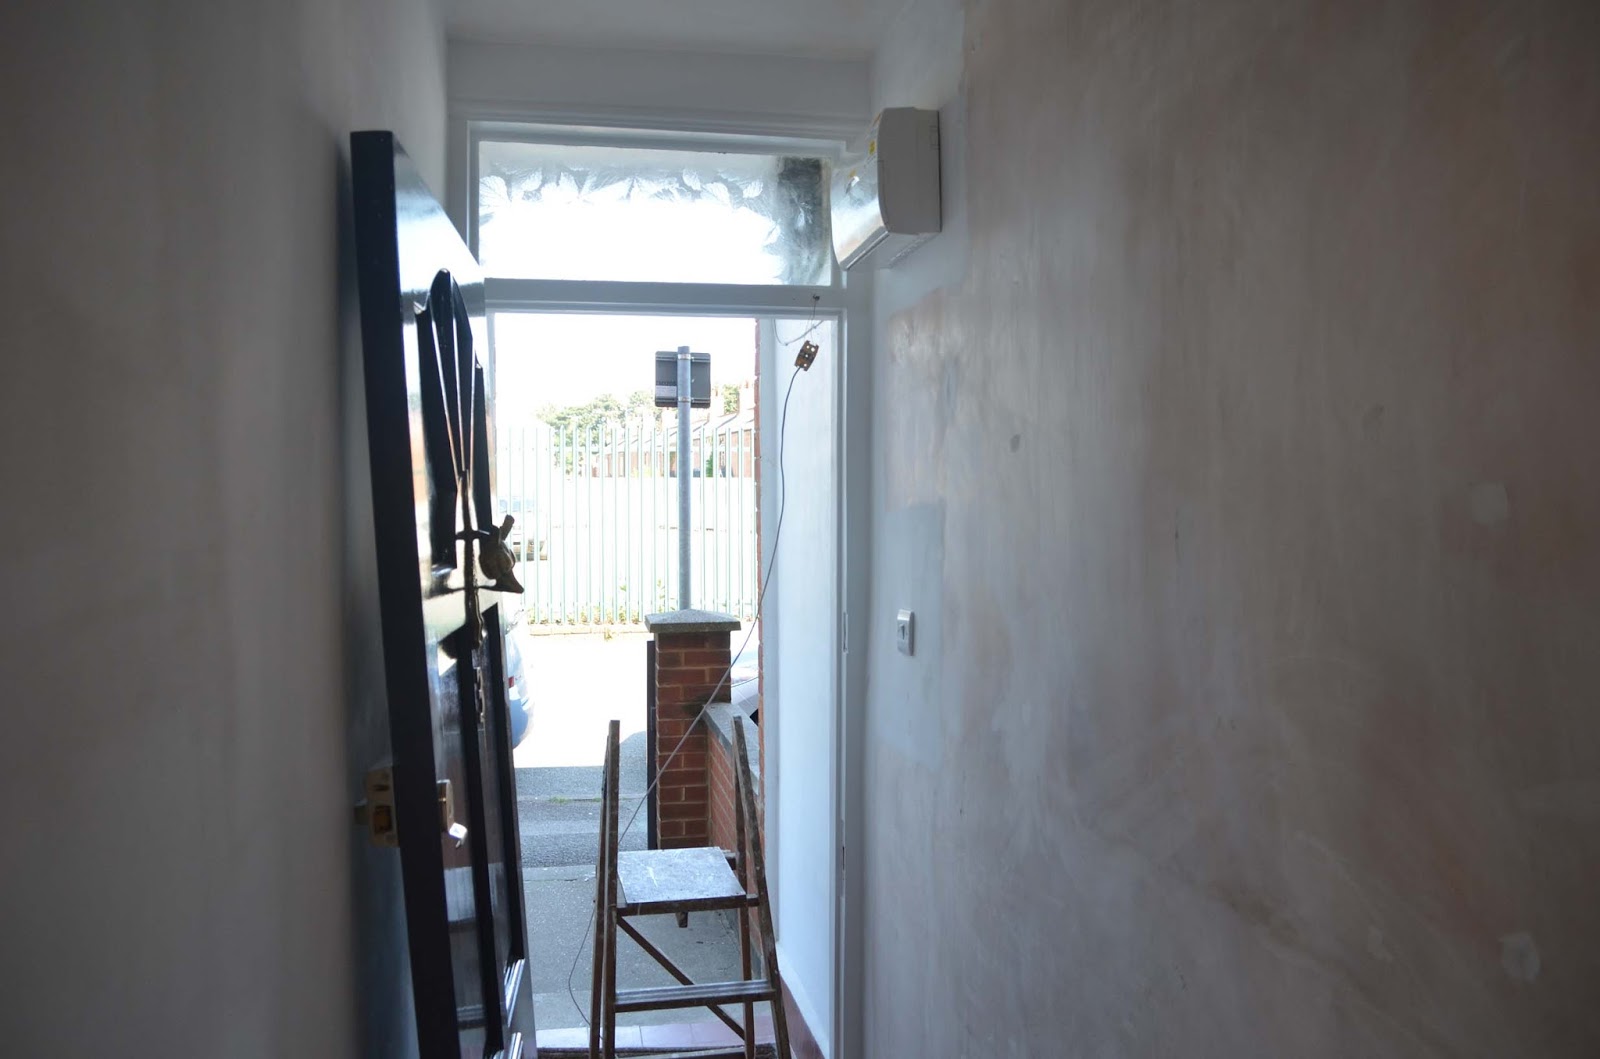
The telephone cable had to be removed to facilitate painting


The skirting under the radiator had to be fitted in four pieces in order to fit round the pipework.


The ends were mitred to form neat joints.


The plaster skim needed a fair bit of filling and sanding down. Then the skirtings could be primed and undercoated.


With the woodwork primed, the cutting in could begin with the mist coat of emulsion.


 The woodwork then had a topcoat of satinwood.


A couple more coats of emulsion on the walls has the hallway looking a lot fresher.


Jacqui has been industrious in the soft furnishings department, cutting and sewing the bay window curtains.


It's coming together!


Sunday 14 August 2016

Fortnightly update 14.08.2016

Work has continued on some of the smaller jobs that needed completing. The window in bedroom 3 now has its curtain rod. Also, one of the 13A mains sockets in this room was faulty so I've replaced this with a new one.


On the landing, painting of the cupboard door is now complete so I've fitted the door furniture and hung the door.


Next project was to build the cupboard in the living room which is to house the gas meter and provide a platform for the TV. I had a rough plan in my head so bought a selection of 6, 12 and 18mm MDF sheets and four 2.4m lengths of 69mm x 20mm PSE redwood.


First, the pieces for front frame were cut to length then drilled out to take dowels.


To keep it flat, the whole frame was then assembled on a sheet of 18mm ply, the joints glued with PVA and the whole assembly clamped with a selection of sash clamps. The sash clamps weren't quite long enough, so I screwed a series of battens to the ply sheet and the clamps pulled the framework firmly against these. A set square was used to ensure the corners were perfectly square.


The edge of the frame was then scribed into the adjacent wall and cut to fit round the skirting board.


The doors were next... To make the frames, a 6mm router bit was run down the centre of one edge to form a continuous groove. Then, having carefully cut this to the required lengths, the ends were also grooved using the router.


These end grooves were then fitted with pieces of 6mm MDF to form biscuit joints. 6mm MDF sheet was also cut to size to form the door panels.


PVA adhesive was then applied to all joints and the doors assembled. These were set into the frame to ensure a good fit.


The rest of the frame was constructed from the PSE redwood with the rear batten being screwed to the wall and joined using angle plates.


The doors were test fitted prior to painting.


The frame and doors have been painted with quick dry water based primer-undercoat and satinwood topcoat...


...whilst the 18mm MDF top has been routed to round off the top edge, then primed, undercoated and finished off with a couple of coats of oil based Dove Grey eggshell, each applied with a foam roller.


Meanwhile, work has commenced on the front door. Having rubbed down the surfaces, an acrylic primer was applied to the exposed areas.


Then a coat of dark grey oil based undercoat...


And, to finish off, one-coat "Slate" grey gloss gives the door a new lease of life.


And, of course, the gate needs the same treatment in order to match the door. A little bit of rotten timber had to be treated and filled...


...and the exposed areas have been primed.


Meanwhile, amid some controversy, Jacqui has painted the exposed copper central heating pipes with white satin radiator paint so they now blend in with the walls.


The step into the pantry has been tidied up a bit using plastic filler...


...and Jacqui has given it several coats of white masonry paint.


Both this and the step into the dining room will be trimmed with a stripwood to cover the tile edges in due course.