As with the first window, the frame had dropped on one side so I needed to add a strip of timber to the bottom edge of the lower sash. This was glued using PVA and clamped overnight before being planed flush with the existing timber and then tapered to fit the frame.

On the inner edge, I chiselled out a small rebate where the old muntin had been and back-filled with 2 part wood filler.

The screw holes for the old latch were filled with tapered dowels, cut flush once the glue was dry.

On the frame itself, the quadrant beading had been cut short by a couple of inches, so I whittled a piece of scrap timber to match the profile and secured in place using PVA and nails.

The existing counter weights (5lb and 6lb) were totally inadequate so, I replaced them with 10lb weights and attached new sash cords to each.

Meanwhile, the new parting beads and staff beads were cut to length and painted.

The rebates were enlarged to accommodate the new brass pulleys and the pulleys were then installed.

The new weights were then installed and the sash cords pulled through the casing using a weighted thread as before. The sashes could then be reinstalled and the cords connected.
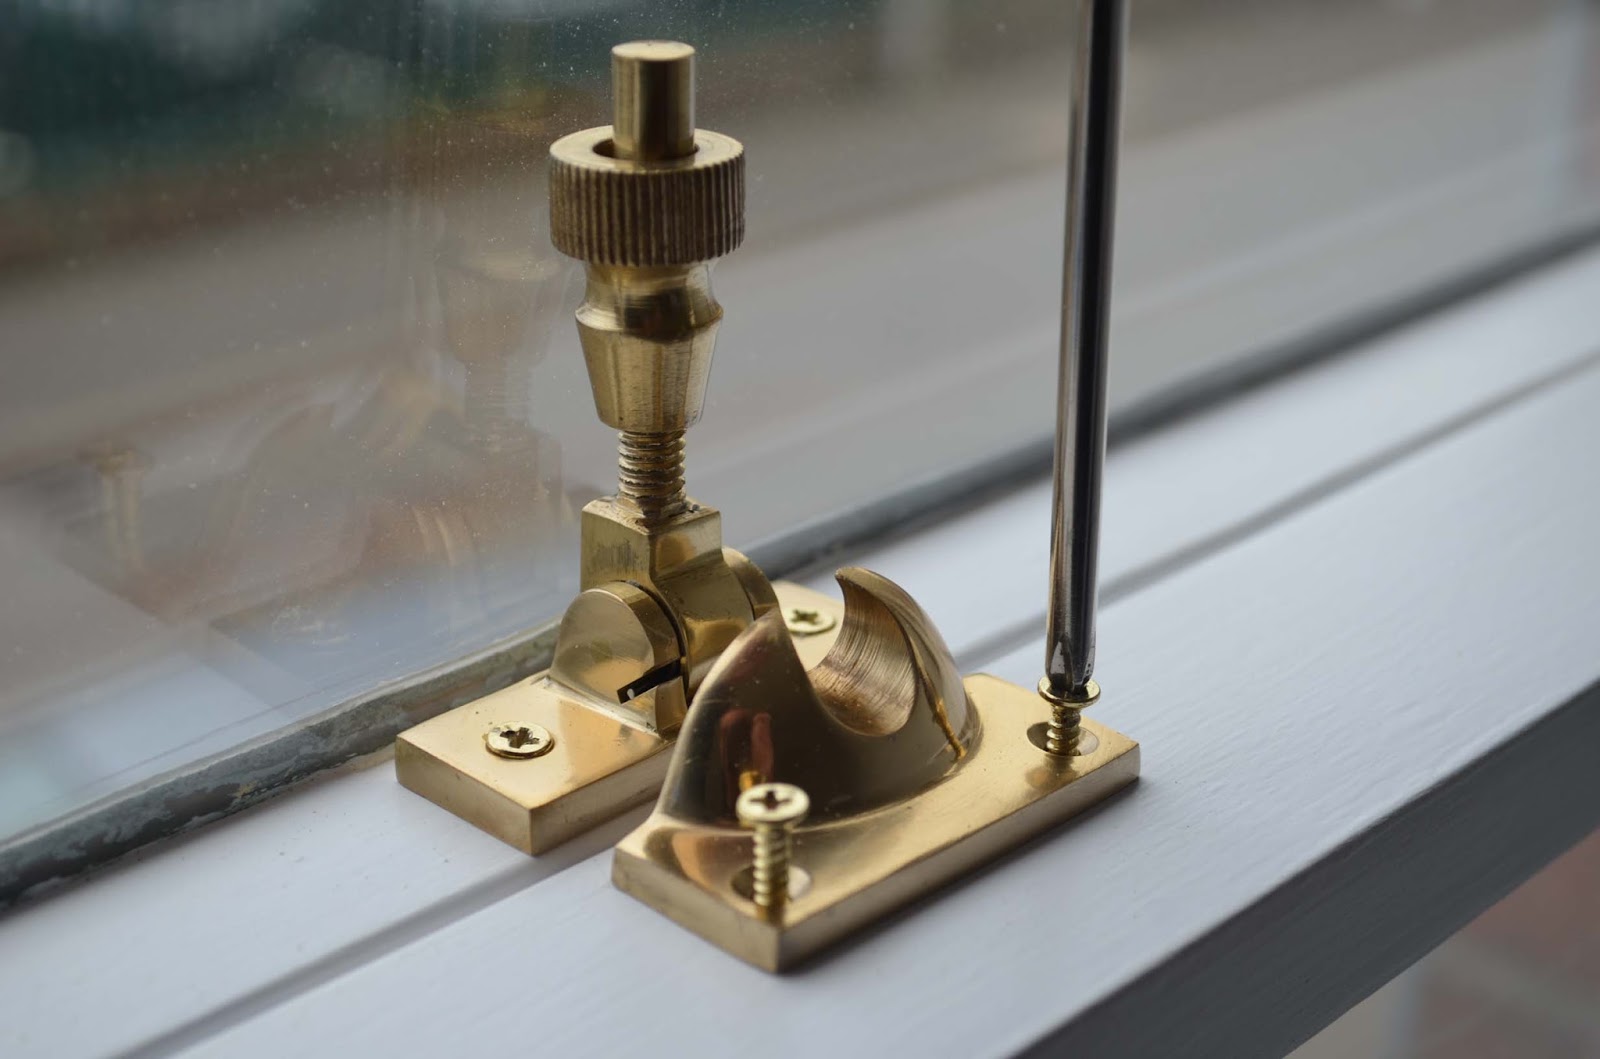
The new Brighton fastener was then located centrally and screwed into position.
You may recall that this window was the one which had a pile of 2p coins propping up the old fastener. This is because the two sashes were out of alignment and, despite me having added a tapered strip of timber to the bottom of the lower sash, there was still a bit of a gap so I decided to fit a strip to the top of the upper sash.
I cut a piece of 6mm pine stripwood to the width of the sash then notched either end to accommodate the cords.


A couple of coats of paint later, it's complete.


The door latch plate has been relocated a few inches lower to match the height of other doors so the old hole had to be back-filled and sanded.

The skirtings have been primed and undercoated, ready for finishing.


The old handrail from the stairs was in pretty poor condition, particularly along its lower edge. I decided it was just about good enough to reuse, so stripped the damaged edge back using the power plane and sander. All the old paint was removed and 2 part filler applied where necessary.

A couple of coats of primer/undercoat to reveal any remaining imperfections....

...and mounting holes drilled, it's ready for re-fitting when the hall and landing are decorated.

Finally this week, I decided I'd had enough of using the old oilstone to manually sharpen chisels. As I would be using the chisels to rebate hinges and latches on the new doors, I bought a neat little wet-stone attachment for the drill. First impressions are not bad for a cheap'n'cheerful solution but time will tell!

No comments:
Post a Comment