Sunday 27 September 2015

Weekly update 27.09.2015

The sash window in the dining room was in need of some attention.  It was obvious that there was a bit of rot in the sill where one or more TV cables had been run in from the outside.


The full extent of the rot was not clear without a bit of "digging".  The surrounding paint just flaked away when touched, revealing some rather soft and crumbly wood.  I pulled out the old co-axial cable and the two plastic tubes and this dislodged more rotten wood.


The more I scraped, the more rotten timber was revealed.  My hopes of filling the damaged area just using plastic filler quickly diminished!


Cutting into the sill further along revealed that, although the surface looked fairly sound, the core was soft.  I therefore decided to cut the whole sill back to sound timber, using the sonicrafter tool.


Once again, Screwfix came to the rescue with this product from Ronseal - does exactly what it says on the tin!  That's to say that you brush it onto rotten timber, it soaks deep into the soft fibres, then sets rock hard to provide a firm surface from which to repair.


...so the whole length of the sill was treated.  The mortar bed below the sill was sandy and crumbly so I scraped this out and backfilled with fresh mortar.


A new length of redwood was sourced from Gibbs and Dandy.  I had them plane it down to 60mm x 70mm for me.  I then planed a chamfer on the top edge to allow the rain to run off and routed a drip groove on the underside to prevent water from running back underneath.


The knots were treated to prevent the resin from leaking and attacking the paint finish.


The old and new frame timbers were drilled to accept lengths of 12mm diameter dowel.  These will be bonded using waterproof PVA and provide a strong interface between the two components.


A fresh bed of mortar was applied to the bricks, adhesive applied to the dowels, a thick bead of silicone sealant applied to the mating surfaces and the whole lot clamped together.  The mortar was then tidied up.  At this stage, I decided it was better for the mortar to come right to the front edge, rendering the drip groove somewhat redundant.


With the main timberwork done, I then turned my attention to the details.  A piece of the outer frame had also been removed due to rot.  I contoured a fresh piece of timber, then glued and tacked it in place.


Once set, the join was filled using high performance, two part wood filler...


...then sanded back to a smooth finish.


Sunday 20 September 2015

Weekly update 20.09.2015

As the weather was still good, I decided it was time to tidy up and clear a bit of outdoor space this week. So all of the old bricks which we had taken out of the fireplaces were stacked together and advertised on Gumtree for use as hardcore.  Despite a quick initial enquiry, it's still here, so will try again next week.


In preparation for the bathroom refit, I spent quite a few hours cleaning up the porcelain sanitary ware, using copious amounts of the Screwfix silicone eater! I sourced new internals for the cistern, including a dual flush siphon, Macdee telescopic bottom fill valve, close coupling kit and overflow stopper. Just need to find a suitable flush handle now to complete the set.


The aluminium extrusions arrived on Thursday so I could crack on with the under-cupboard lighting for the kitchen. The extrusions came in 1m lengths so would have to have a join in the middle.  No matter as it's a triangle section and will fit right up against the wall, pretty much out of sight.


This is the 2m long, flexible LED strip. It's waterproof, runs off a 12V supply and uses only 12 Watts per metre.  Not bad for a fiver!


...and this is the aluminium extrusion.  It's very compact at only 16mm x 16mm and has a 10mm inner face angled at 45 degrees for the LED strip to stick to.  Each strip comes with a pair of neat mounting clips which I simply screwed into the base of the cupboards.


I chose the frosted lens which gives it a nice even spread of light. A pair of neat little end caps completed the installation. Very illuminating!!


So, with the lighting complete, the cupboards and worktop were promptly filled.


Back to the bathroom preparations... I thought it time we got rid of the old gas storage heater.  This has already been isolated from the gas supply when the boiler was put in so just needed removing from the wall.


With the cover removed, it was a simple case of removing the four mounting screws.


However, the flue was well and truly cemented through the wall!  I carefully chipped away the mortar round the edge, at the same time deforming the flue so as to free it from the wall.


With everything removed, I located a couple of suitable half bricks to re-fill the holes.


I'd saved the architraves from the kitchen and lobby doorways, but they were all in a tatty condition.  The architrave for the doorway into the dining room was too rotten to re-use, but the others were useable.  It took a long time an a fair bit of effort to strip off the old paint and plane and sand them back to decent timber.


With them suitably prepared, I re-fitted them to the frames using, where possible, the old nail holes to ensure that they were correctly positioned.  Even with them in this condition, they smarten up the doorways.


The nail holes and any small blemishes were then filled using a 2 part plastic wood filler.


Sunday 13 September 2015

Weekly update 13.09.2015

In order to secure the end panel beside the fridge, the fridge had to be extracted. This proved a bit of a challenge as I had laid the floor tiles quite close to the legs which meant the fridge couldn't simply be slid out. The legs had to be retracted to allow clearance for the fridge to be lifted over the tiles. Once out, I decided to install a couple of strips of floor tile in line with the fridge legs to make it easier to slide back in.


Once the tile adhesive had set, I fitted angle brackets to the floor, wall and underside of the worktop. The end panel was then screwed to the brackets from the inside, the fridge slid back into position and re-levelled for a neat fit with the neighbouring cupboards.  The plinth was then clipped into position and the fridge vent trim added.


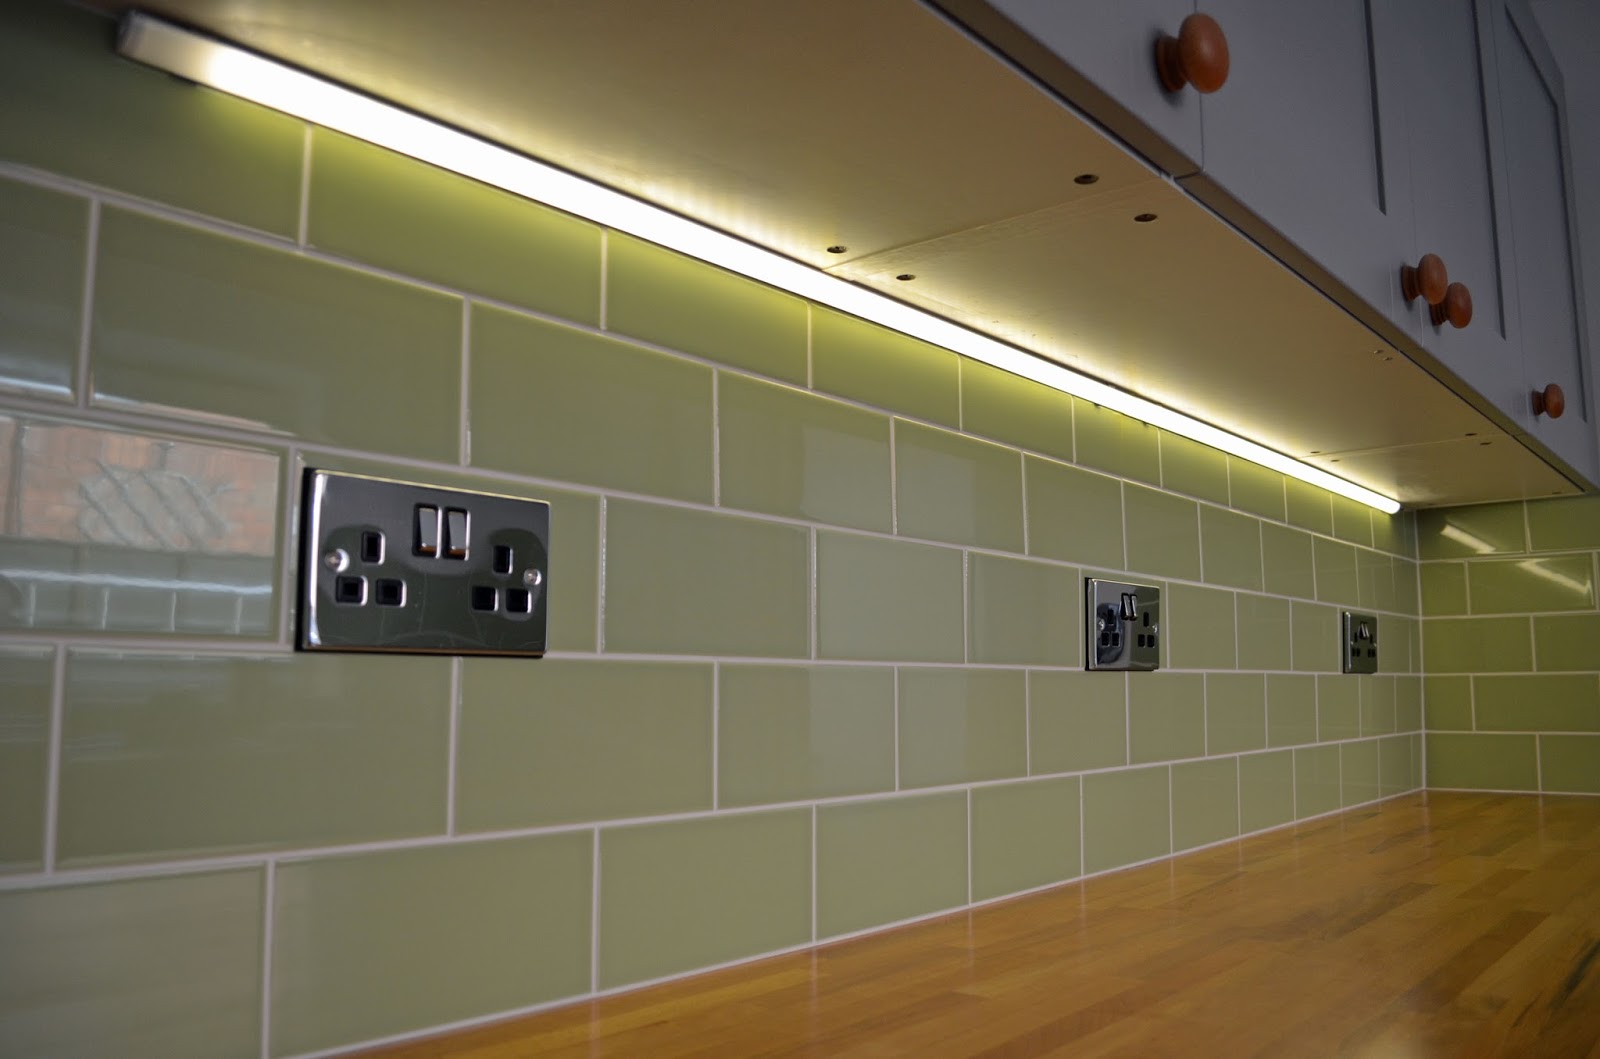
...and on the other side it was simply a case of screwing the end panel to the drawer unit from the inside and clipping the plinth in place.


Last weekend, we picked up this second hand bathroom suite. The first job was to strip off all the old fittings and clean it up.


The previous owner (or fitter) must have had shares in a silicone sealant company - it had been used everywhere!! Even where there were perfectly good washers and o'rings, there was silicone! Fortunately, Screwfix have a solution:


In the mean time, I thought it a good idea to crack on with some of the outdoor tasks before Autumn really takes hold.  The shed, which I appears to be constructed from pallets or similar, is rotting away in places, particularly around the windows.  Not wishing to put too much effort into the shed, I figured it best to just stabilise the rot at this stage, rather than undertake a major renovation. Fortunately I still had a section of an old pallet left with just enough timber on it to replace the worst of the panels below the windows. The rotten material was cut and scraped away and replaced with lengths of pallet timber after soaking the surrounding areas and the new timber with Creocote.  The glass panels were also re-aligned and tacked in place with small nails.


It doesn't look pretty, but believe me it is better than it was!!  If I come across any more similar timber, I will re-cap the uprights.


I thought I should also check out the flat roof over the bathroom as I knew it needed some attention. It looks like it might have undergone repairs previously as there is a strip of felt all around the perimeter, on top of the main top-sheet.  In a few places, this has cracked right through to the timber deck so will need replacing.  As this is best done with a large blowtorch, it's probably best that I get a contractor in.


And still on the outdoor theme, I took a closer look at the back gate.  I already knew the top rail of the gate itself was beginning to rot and that the gate had dropped a bit, so my intention is to make a new frame for it.  However, before doing this, I wanted to get the fence and gate post upright.  It soon became clear that the furthest fence post had rotted away completely below ground level.  All that remained inside the concrete surround was a handful of sawdust!!  I unscrewed the upper and lower fence rails from the post and lifted it away.  The old post was approx. 4"x3" but I figured that 3"x3" would suffice as I had loads of this left over from a previous project.  I routed out the rebates for the upper and lower rails.  The difference in the lengths of the posts in the photo shows just how much of the old post had rotted away.


The pocket in the concrete left by the rotten post was reasonably clean although the old post had been set in place with several nails protruding as these were now well and truly anchored in the concrete!! A combination of angle grinder and multi-tool eventually cut them out. I put a few scoops of 10mm gravel in the bottom of the hole first to aid drainage below the new post and then lowered the post into position.  The space around the new post was back-filled with fresh concrete and I extended this up above the old concrete for a bit of additional stability.


...and for the gate post which was not quite upright, I used a short sash clamp to pull it level with the edge of the gate.  I then dug away soil from the back edge of the post and rammed 10mm gravel down before adding a bit of concrete to firm it up.


So, once the concrete had set on the fence posts, I removed the gate from its hinges to examine the extent of the damage.


Where the upper hinge had been, the top rail was completely rotten!! In fact, later analysis revealed that the rail was rotten along its entire length, right through the centre, just like a stick of rock!


I found a suitable piece of new treated, sawn timber in the shed and cut it to length.  It was a little too thick so had to be planed down to match the rest of the gate frame.  Before assembling, all timber was given a thorough coating of Creocote.  Here's the finished gate, complete with new post caps.  The new timber should weather over time and can then be darkened further to match the old timber.


Jacqui has continued with work on the pantry.  This weekend she has undercoated the window frame.


...and whilst the paint was drying on the window frame, the shed has had a treatment of Creocote.