Sunday 31 July 2016

Fortnightly update 31.07.2016

The brass-ware on the front door and gate was looking rather tired, so Jacqui has been busy giving it a good clean up. "Mr Fox", the door knocker, has taken a lot of cleaning with Brasso, silver polish, T-cut, Astonish to name but a few!


And the door number has responded well to a bit of Brasso and some elbow grease.


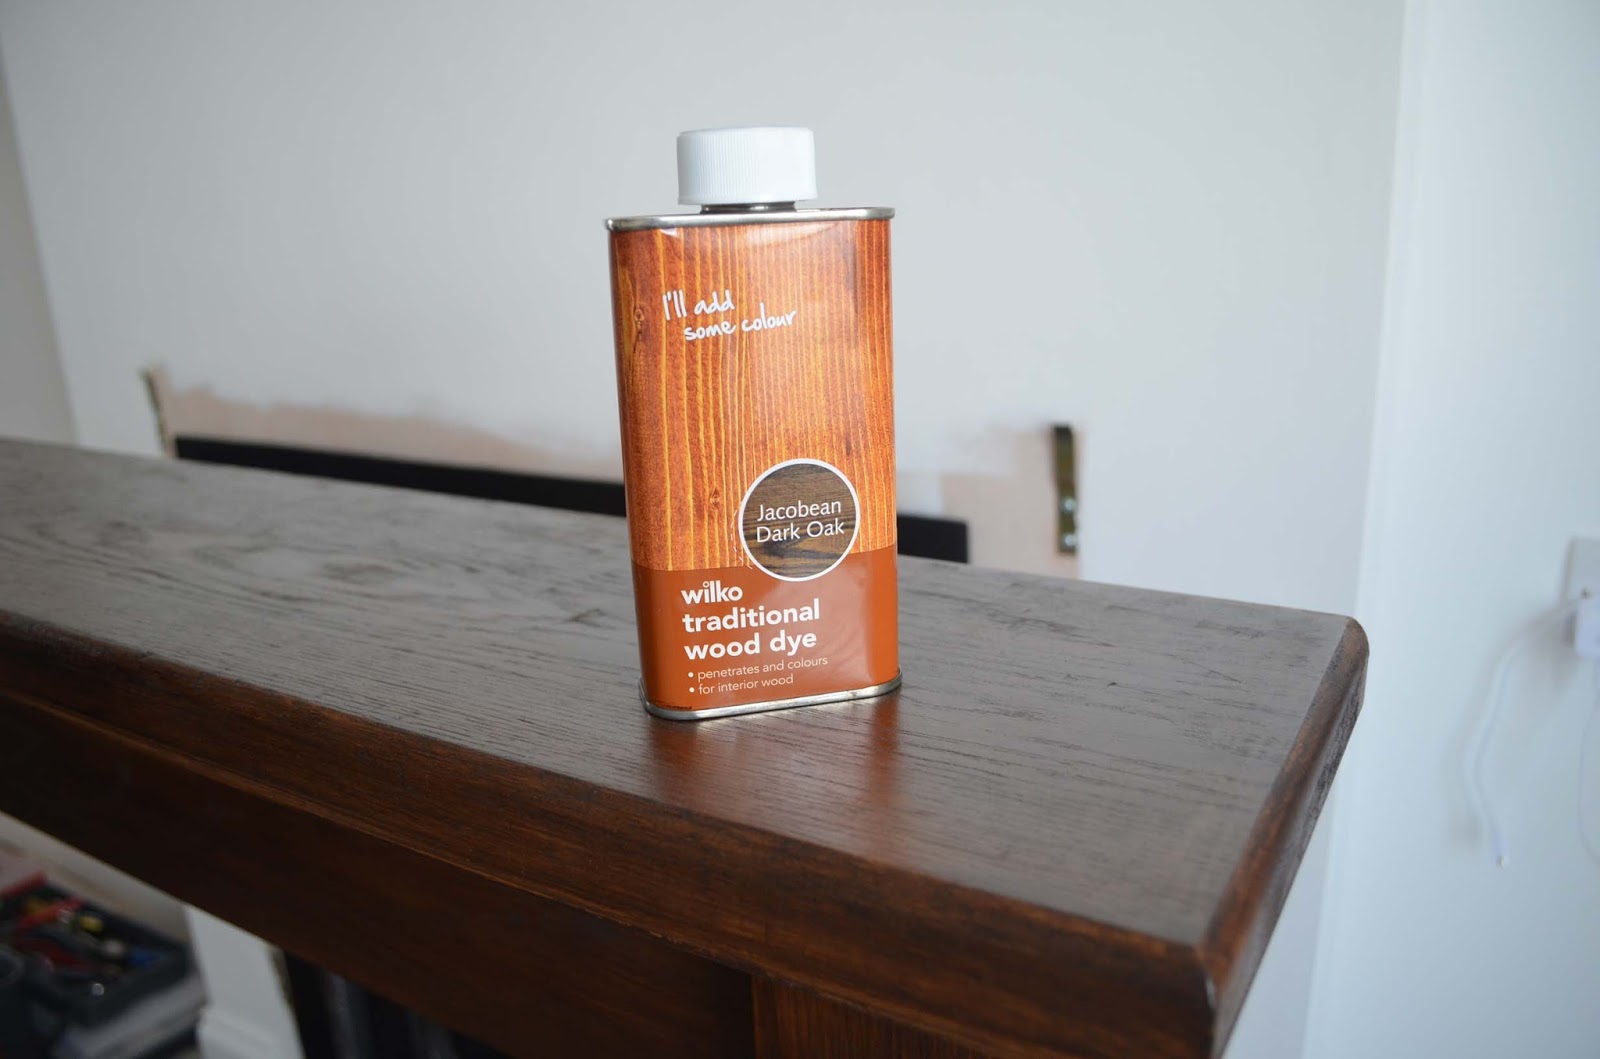
Whilst there are still a number of jobs to do before completion, we've already started to work through some of the tasks on the snagging list. The timber fireplace surround had some worn areas where the original wood was starting to show through the woodstain so Jacqui has been treating it with Jacobean Dark Oak woodstain and a little acrylic paint to blend it with the surrounding surface.


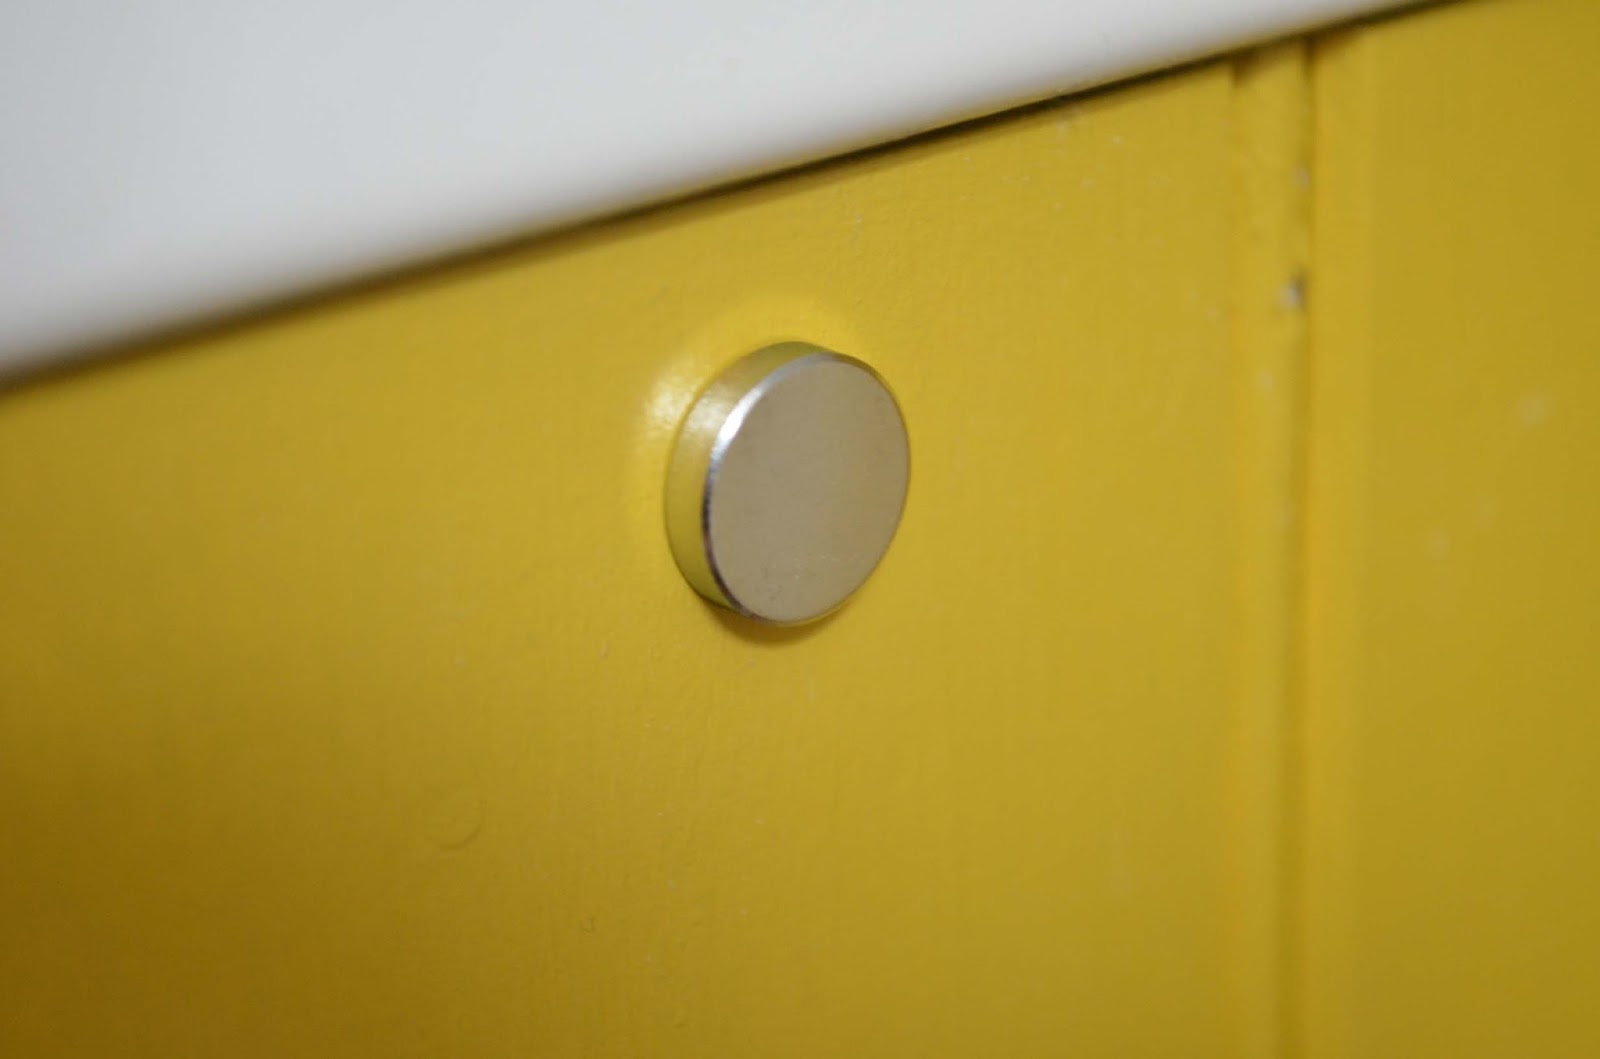
In the bathroom, the removable bath panel was only temporarily secured with standard Quicksilver pozi screws so, having spotted some contemporary mirror screws in Wilkos at a mere £1.49 for 4, I decided to upgrade them...


...to these.


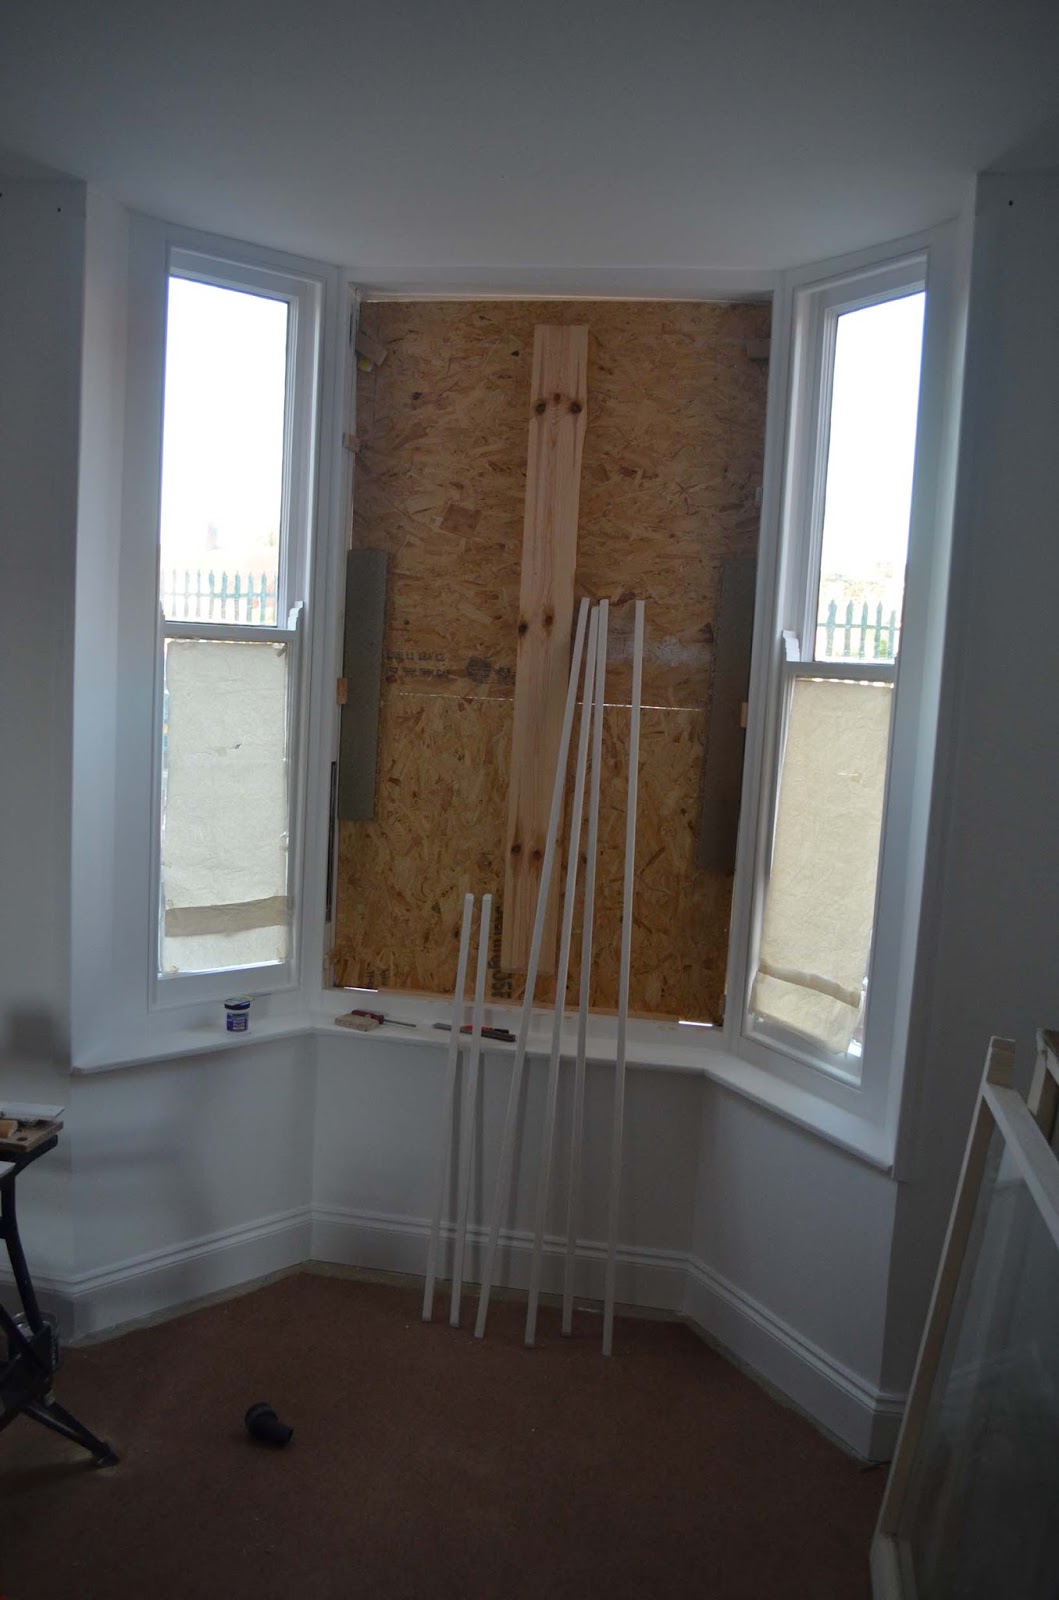
The window ledge had only ever had one topcoat so another couple of coats of white satinwood have been added using a sponge roller for a smooth finish.


And on the ceiling, the plaster had "popped" on several of the plasterboard screws so this had to be dug out and refilled with fresh plaster. Fine sandpaper was used to blend this back to the surrounding surface then, using several applications of diluted emulsion, I was able to cover these without leaving any evidence.


Work on the 'new' back door has continued this week. It has been primed, undercoated (twice) and topcoated with white gloss.


The repair to the rotten beading is almost invisible...


 Concealed rack bolts have been sunk into the door top and bottom to provide extra security.


Before fitting the door, the frame needed some further attention. There were some subtle signs of rot through the paint so these areas were chiselled out, hardened with Ronseal wood hardener and then filled with 2 part filler.


The lock position on the new door is higher than the old one so a piece of scrap timber was trimmed to fit the old lock box rebate and glued in place using PVA.


The new rebate was then drilled and chiselled above the old one...


...and the old one covered with 2 part filler.


Now the old door could be removed and has since been disassembled ready for disposal.


And the new door has now been hung. Looking much smarter although there is still a bit more work required on the frame.


Sunday 17 July 2016

Fortnightly update 17.07.2016

Apologies to avid blog followers... there was no update last week, so a bit of a bumper edition this week!

Continuing with the bay window, I've rubbed down, primed and undercoated the insides of the fixed panes on either side of the main sashes.


Now for the sashes... these were removed in exactly the same way as all the others. I get the impression that these have not been removed for a very long time, if ever. The casings and parting beads had never been painted in the centre where the sashes prevent access.


The parting beads were showing signs of wood rot and the timber was in generally poor condition.


I had to batten two pieces of OSB together to make a temporary board. This was tacked into position using several wooden wedges, nailed into the casing where the parting bead fits.


The sashes could then be stripped down, repaired, sanded and primed, along with the new parting and staff beads.


A bit of filler was needed to tidy up the weight pocket covers...


...a coat of primer and they're as good as new.


And meanwhile, the window casing was cleaned up, filled, sanded and primed.


As with all the previous windows, the sash counterweights were way too light. I had to add a total of about 7kg to balance them. Some scrap lead was sourced from Sandcast Lead in Wigston. This was a continuous sheet of lead and in good, clean condition so, rather than casting new weights, I decided to roll it.


First it was cut into pieces of the appropriate weights using a pair of tin snips. Then, using a lot of brute force, it was rolled around a 9mm dowel (to ensure an adequate aperture for the sash cord).


The rolled weights were then bound using electrical tape...


...and added to the original weights.


Once the window casing had been painted and was fully dry, the new brass pulleys were fitted.


The sashes and new beads could then be re-fitted.

Attention then turned to the outside. The paint was very flaky in places and gaps were starting to show on the corners of the uprights. At the bottom of the two front corners the timber had been replaced at some point. Although the paint was in poor condition, I decided to keep these pieces and repair them.


The two pieces were pinned in order to stabilise them and to provide a good key for the filler to attach to. Two part wood filler was then applied and, once set, sanded back to a smooth finish.


Elsewhere, there were isolated areas of rotten wood so these were dug out and filled.


Likewise, the cornice was secured by pinning, then filled and sanded.


A couple of coats of primer/undercoat followed by quick-dry topcoat had it looking a bit better.


And the inside was finished off with a couple of coats of Satinwood.


So, with the interior painting complete, the windows could now be dressed.


Jacqui sourced this decorative frosted film from Ebay...


...and applied it to the lower panes of glass.


The back door is badly rotting and is long overdue for replacement. By good fortune, we acquired a replacement which was almost a perfect fit, needing just the smallest amount of trimming. This also had a patch of rot in the same area as the old one, but nowhere near as bad so I set about repairing it.


First, all the soft timber was scraped out using a chisel.


This went quite deep, probably to about the centre of the timber. Unfortunately, it also took out a section of the moulding round the edge of the panel... this would have to be reconstructed.


The remaining exposed timber was given a generous coat of Wet Rot Wood Hardener and left to set.


Several layers of two part filler were then applied to build the profile back up.


This was then shaped using chisels and files, finished off with a fine sandpaper.


New rebates had to be cut into the frame for the new hinge positions and the old screw holes were plugged. The door could then be temporarily hung to check fitting. Just a few mm had to be shaved off the bottom of the door, to clear the threshold. The old door was put back on whilst the new one is painted.


The stone cills and lintels on the front of the house were looking a bit tired. The loose paint has been scraped away...


...and a coat of masonry paint applied...


A second coat will be applied when time permits.


And last, but not least, Jacqui has been sprucing up the fire surround using Wilko Jacobean Dark Oak wood dye.