Sunday 27 December 2015

Weekly update 27.12.2015

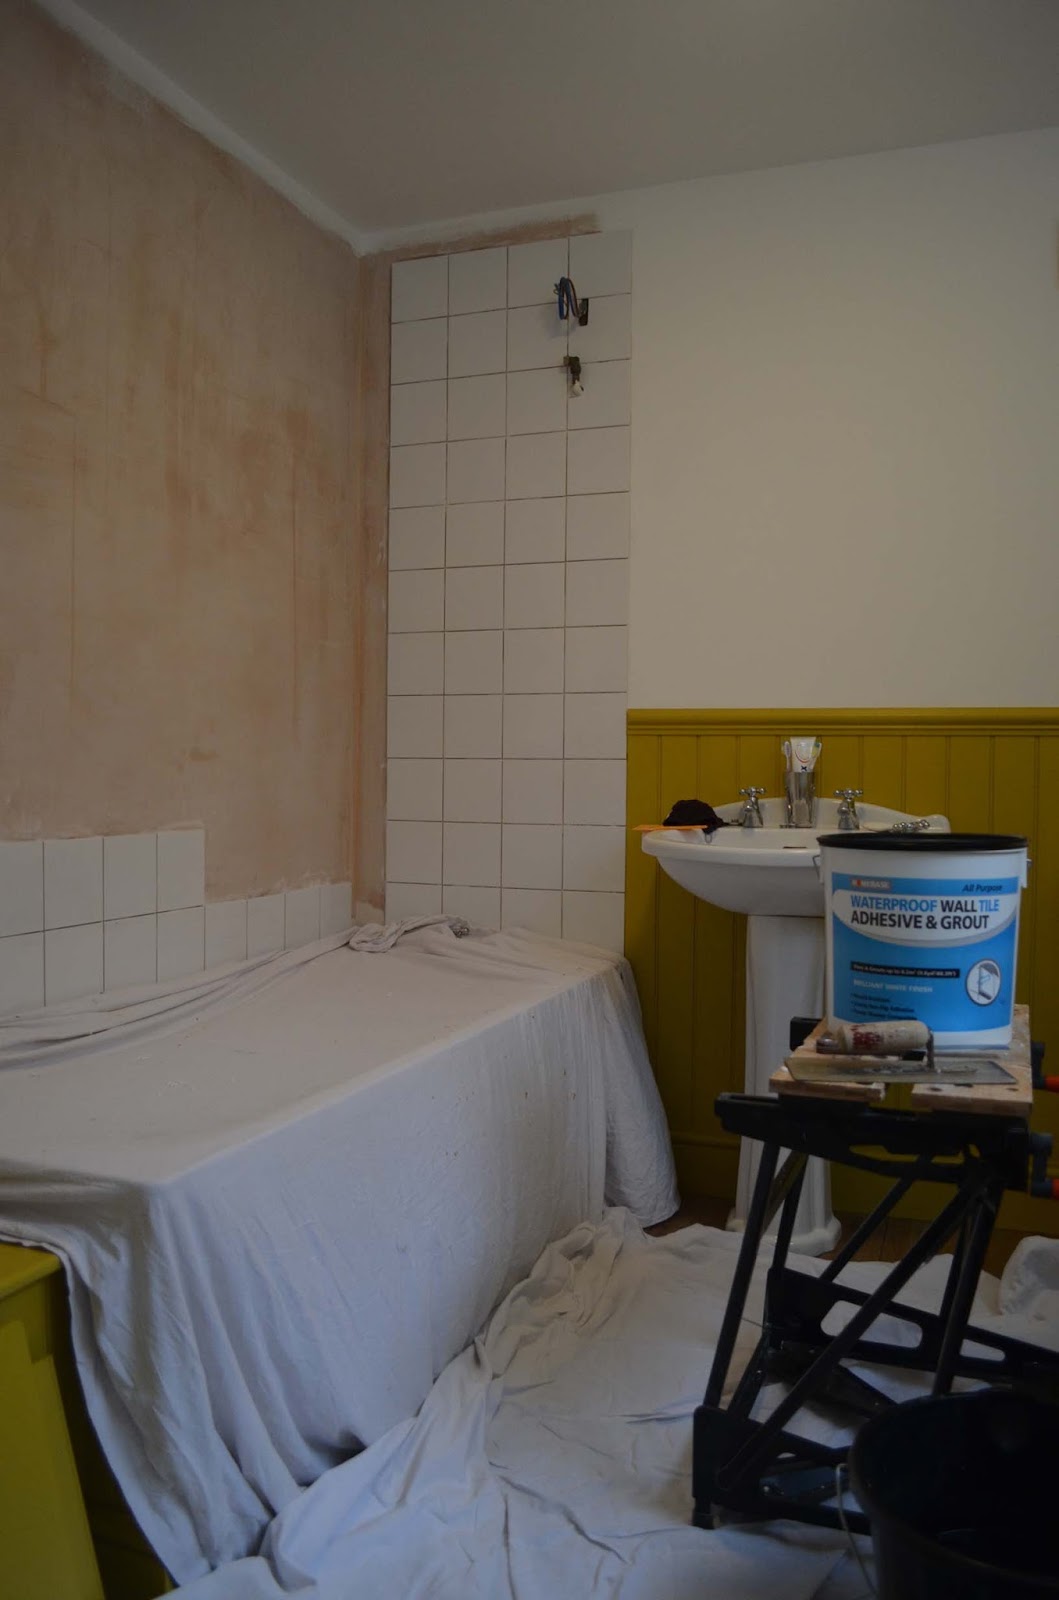
The electric tile cutter was pressed into action to complete the tiling into the corner and up to the ceiling.


I thought it best to drill and plug the holes for the shower, riser rail and screen before grouting the tiles. That way, should I damage any of the tiles get damaged in the process, it would be easier to replace them. Fortunately, all the tiles survived. Two layers of masking tape were applied to help prevent the tile drill from slipping across the surface.


Whilst the tile adhesive was setting, I took the opportunity to fit the bathroom door. It still needs a slight trim along the bottom edge, but is functional and will suffice for the time being.


Once the adhesive was set, waterproof grout was applied to the joints. I didn't grout the joints bordering the bath or the T&G panelling as these will be filled with flexible sealant. With the grout dry, the tiles were cleaned and polished.


Although we're re-using the original shower unit, we bought a new Croydex accessory kit consisting of a chrome riser rail with soap dish, a chrome hose and a 4 function shower head. The rail has been fitted to the previously drilled holes.


The bath was filled with water to weight it down, then sanitary silicone sealant was applied to the joint between the bath and the tiles and between the tiles and the T&G panelling.


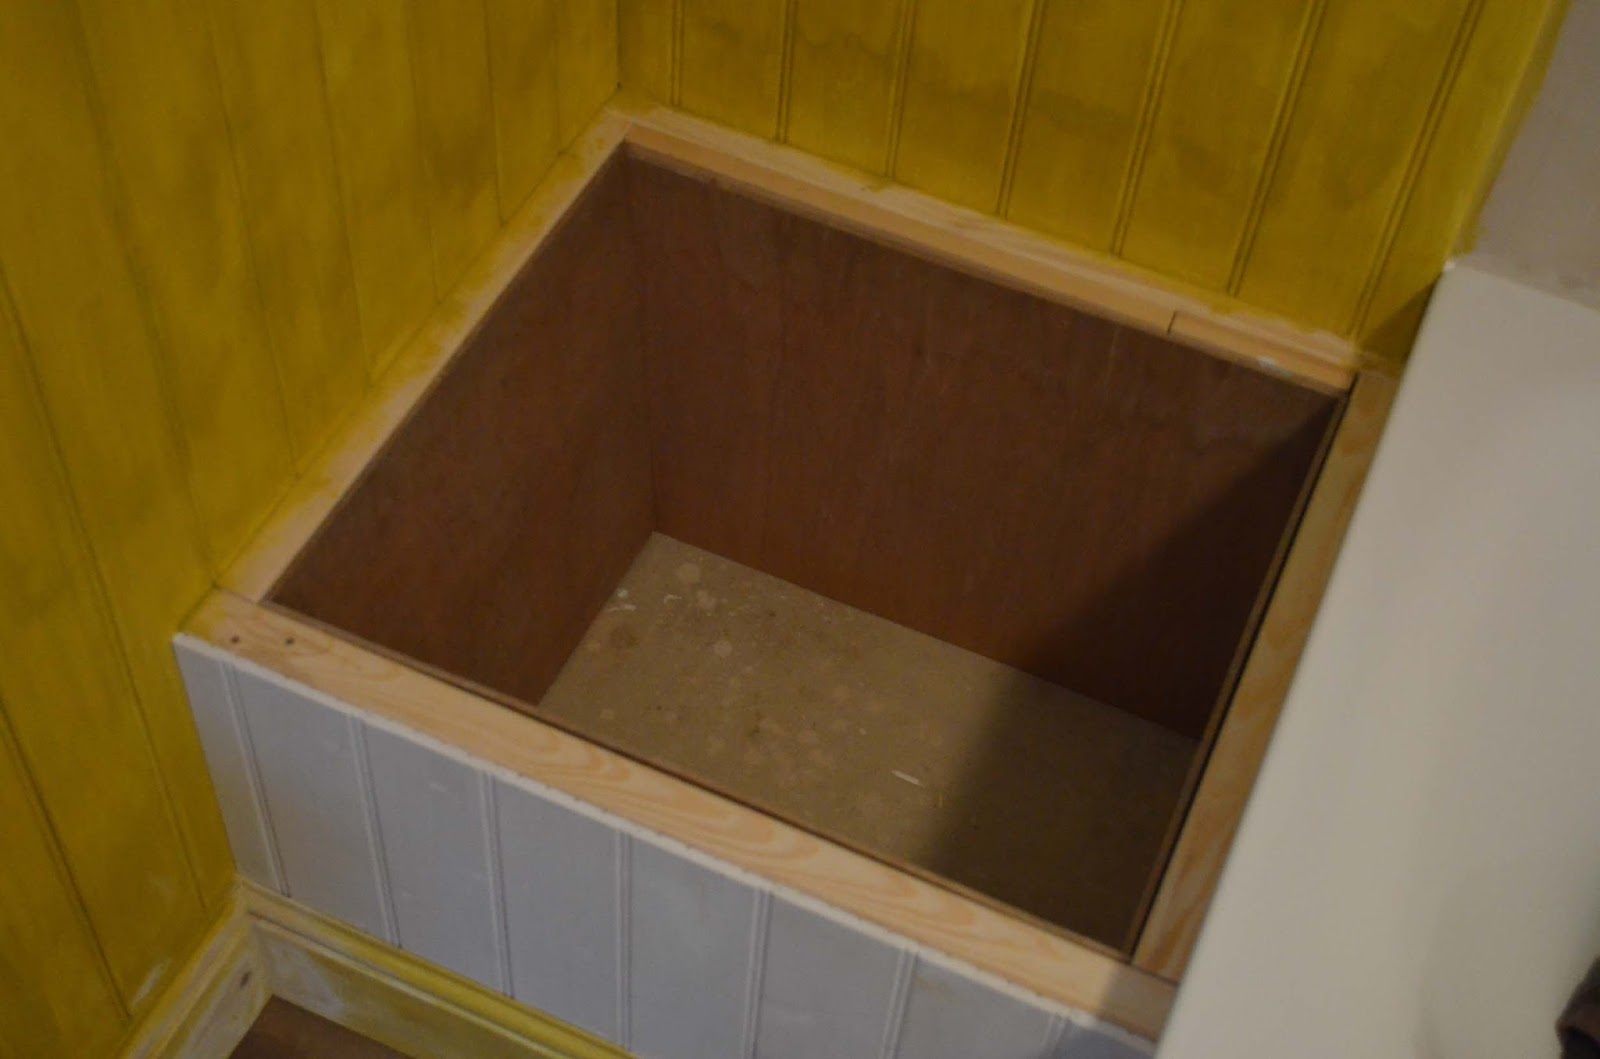
Jacqui has finished off the cushion which fits nicely on the box seat at the end of the bath.


We bought a three piece bathroom accessory kit from the Screwfix clearance shelf. As we didn't need the towel rail in the bathroom, I cut it to length and have fitted it below the kitchen worktop.


Sunday 20 December 2015

Weekly update 20.12.2015

When we demolished the stone fireplaces earlier in the year, we kept hold of the plywood sliding cupboard doors in case they came in useful. Sure enough, I was able to use one of them to form the ledge for the box seat lid to sit on. This was cut roughly to size using the jigsaw, then routed to a clean finish. This was then glued and screwed to the underside of the seat top, providing a ledge of about 1/2" all round.


Meanwhile, the interior panels were glued and nailed into position and another of the old sliding doors was recycled to form the base of the box.


Once the glue had set, the corners were caulked and the panels primed and topcoated.


The assembled seat top was also primed before being glued into position using PVA adhesive. The edges were sealed to the T&G panels with decorators caulk.


The lid was primed and checked for a snug fit.


...and finally the topcoat of Gorse Acrylic Eggshell applied with a roller for a smooth finish.


Jacqui has been upcycling an old mirror frame. With the glass removed, two coats of Farrow and Ball Hague Blue followed by three coats of white chalk paint have been applied. Once dry, this will get rubbed back to create a distressed effect.


With the T&G panelling now fully painted it was time to commence the tiling. First a liberal coat of diluted PVA was applied to the fresh plaster...


...getting into the festive spirit this week!!


We've gone for simple glazed white 150mm square tiles for the bath/shower area. These are fitted using waterproof adhesive.


First the shower wall. Fairly straightforward with only a couple of tiles to cut round the pipe and cable.


Work continued on the side wall. The corner tiles will be cut and fitted once all of the whole tiles have been fitted.


A bit more festive nonsense!!  Countdown to Christmas... I'll have a vowel please Rachel.


So that's all the whole tiles now complete. Just the fiddly bits left to do now.


The haberdashery department has been busy making curtains for the living room and dining room...


...and a cushion for the bathroom box seat.


Now this is what I call improvisation. No rolling pin, no problem... a length of 32mm plastic pipe does the job just as well. No pastry cutters, no problem... a 40mm plastic pipe elbow is just the ticket!

Mince pie anyone?


Sunday 13 December 2015

Weekly update 13.12.2015

With the floor tiles now drilled for the pedestal, the basin could now be installed. First, the waste assembly was fitted and sealed to the basin using a thin bead of sanitary silicone. This was left overnight to cure. The plug chain and taps were then installed and the flexible tap tails added. I used a dab of grab adhesive on the mounting studs before inserting them into the wall. Once set, the basin was lifted into position on the studs and then the cams and locking nuts were fitted. A new piece of 32mm waste pipe was cut to length and inserted into the existing pipework and a new bottle trap added.


With the lock nuts semi-tightened, the cams were rotated until the basin was perfectly level. The lock nuts were then tightened fully to secure the basin to the wall.


So now the hot and cold water feeds could be completed. 15mm copper pipe was cut to length and connected between the isolating valves and the flexible tap tails. Plastic pipe clips were used to secure the pipes to the wall.


A quick test with hot and cold running water to see if there are any leaks.


...and once happy, the pedestal was eased into position and screwed to the floor.


The toilet roll holder was fitted to the wall using a concealed fixing.


Back to the panelling. The removable panel has been constructed by gluing the lengths of T&G to two horizontal battens, held in place with G clamps...


...and the remainder of the panels were glued to the timber framework and clamped.


The seat top has been cut from 18mm marine ply and I've rounded the front edge to a bullnose profile for comfort. The centre was cut-out roughly using a jig-saw, then carefully routed to straighten and neaten the edges.


This was then used as a template from which to make the lid (also from 18mm ply). A 32mm holesaw was used to make the finger hole which will allow the lid to be removed.


The seat will conceal the hot and cold water pipes and the washing machine waste pipe which run along the wall.


I didn't want these pipes visible from inside the box so have cut 6mm ply to form internal walls.


I've recycled some old timber (previously a door stop) to use as battening. This is glued to the bottom edges of the ply panels. The panels have been glued and nailed to the top edges of the frame, then glued to each other along their corner edges. Opposing panels have been pulled together whilst the glue dries using lengths of string, twisted to generate tension. Once the glue is set, a base panel will be cut to size and set onto the battens.


The seat top has been primed...


...as has the lid.


In the mean time, Jacqui has sourced suitable material for the living room and dining room curtains. A thermal lining is being added to keep out the draughts.


Sunday 6 December 2015

Weekly update 06.12.2015

With most of the T&G panels primed and undercoated, it was time to start fitting them. The rebated skirtings and dado rails will secure the panels at the top and bottom, but for added security, grab adhesive will keep them flat to the walls. Do you think I bought enough???


First to be fitted was the back wall... the challenge here was to cut the holes for the basin waste and 15mm pipe in exactly the right places. The hole for the waste pipe was cut using a 35mm hole saw. Fortuitously, the hole for the 15mm pipe was right on the edge of a board so I just needed to cut a suitable sized notch.


I fitted the panels in groups of 3 or 4 at a time, checking that each section was perfectly vertical before moving onto the next. A generous bead of grab adhesive was applied to the wall at the top, middle and bottom before slotting the panels into the rebate on the skirting board and then onto the tongue of the previous section. A firm shove ensured that the adhesive made good contact with the backs of the panels. The final panel was scribed into the corner to take account of any misalignment of the walls.


With the panels complete, the dado rail was screwed firmly in place to pull in the tops of the panels.


At the end of the bath will be a storage seat. I've constructed the frame from the same C16 kiln dried framing timber as used for the bath frame. This is screwed to the floor, walls and bath frame, forming a very solid structure...


...and then more T&G panelling was cut and fitted around the seat frame.


The screw holes in the skirtings and dado rails have been filled with 2 part wood filler and sanded smooth. With the WC removed, the cladding was then given 3 coats of the "Gorse" acrylic eggshell paint.


I ordered some special fixings to secure the WC pan to the floor - these have plastic bushes to protect the porcelain and caps to cover the screw heads. I also bought some 100mm basin fixings to hang the basin on the wall. These have plastic bushes with eccentric cams which allow the basin to be finely levelled once fitted.


My cheap old tile drills aren't up to the job of drilling through the rock hard 10mm porcelain floor tiles, so I had to invest in one of these... an 8mm diamond grit drill bit. Not cheap at over £15, it's self sharpening and self lubricating (has a wax core)


This made fairly light work of drilling the floor tiles so was definitely worth buying.


So now the WC could be screwed down firmly to the floor and the cistern to the wall. The cistern was filled with water and left for a while to check for leaks. Once watertight, the mains water feed was connected up to the cistern float valve using a 15mm to 1/2" braided hose and the isolating valve was opened up to allow the cistern to fill.


A few test flushes later, we have a fully operational WC so no more hurried visits to Waitrose or Sainsbury's!!


The old chrome plated basin waste has been cleaned up and re-set into the basin, sealed with white sanitary silicone sealant. This will be left to cure fully before fitting the basin.