Sunday 25 October 2015

Weekly update 25.10.2015

Picking up where we left off last week, work has continued on repairing the back door frame. Having got the frame back into reasonable shape, a further section of rotten timber was spotted so this had to be scraped out, hardened and filled as before.


I think the frame now consists of more plastic than a modern uPVC unit but at least it won't rot.


...and with a coat of primer, it's starting to blend in.


...finally a gloss coat and it's as good as new... shame about the state of the door!!  That's a job for another day.


With the continued spell of good weather, I took the opportunity to smarten up the front entrance. Two coats of white masonry paint provided good coverage for the earlier reparations.


...and no longer any evidence of where the old fuse box was...


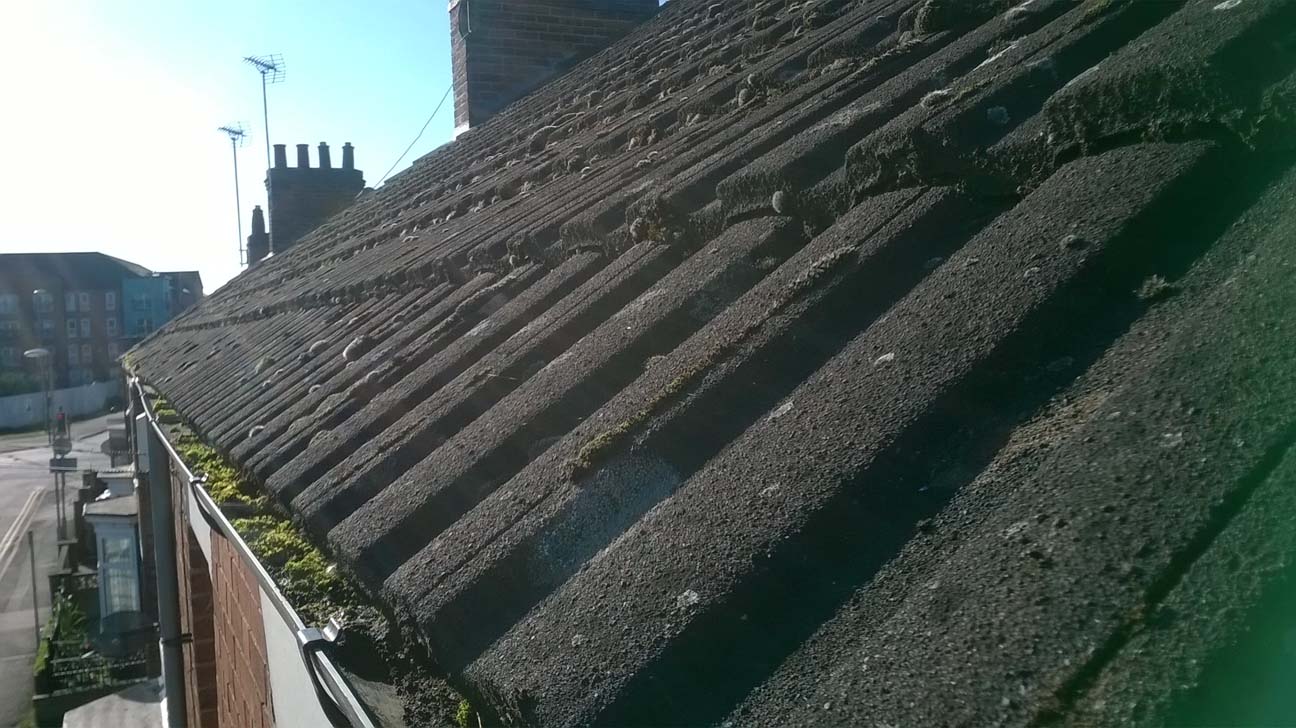
On Friday, the flat roof over the bathroom was re-felted courtesy of DSH roofing.  The old covering was badly cracked along the bottom edge and rain water had penetrated to the timber deck. Fortunately, this is made from ply so had survived pretty well.


The old felt covering was well stuck down so proved a bit of a challenge to remove.


The new covering consists of 3 layers, finished with a mineral felt.


Next up, a couple of the internal doors... The new door for the bathroom was a good 2 inches too long but, because it's a hollow moulded door, the manufacturer recommends taking no more than 5mm off either end so as not to weaken the frame too much. No matter, I took off the entire 2" excess with a power saw and, as expected, this included the entire bottom frame, exposing the internal cardboard honeycomb structure. I carefully planed the offcut timber to re-fit in the resulting aperture at the bottom of the door.


This was coated with PVA adhesive and pushed back into position before being clamped until set.


...and then finished off with a light planing, using the new toy of course!


The hinges and latches were set into the frames and doors using the router, finished off with a sharp chisel. To maintain a fairly contemporary theme in the back end of the house, both the bathroom and lobby doors have chrome, ballraced hinges and chrome handles.


Just a coat or two of paint needed now...


Prompted by the delivery of the new bath on Friday, the bathroom renovation got under way this weekend. I must say I was very impressed with Trading Depot - I ordered the bath on Thursday morning and it arrived the very next day! It was by far the cheapest price and included the set of legs (which many suppliers charge an extra £25 for) and only £5 for delivery! It's enamelled steel and from the Kaldewei Eurowa range.


This phase is going to be a bit tricky as the bathroom contains the only "facilities" in the house. We sat down and planned this bit in some detail so as to minimise down-time, particularly of the loo!

A quick reminder of how it's been up till now...


We figured that the first task was to remove the remaining tiles as this wouldn't prevent us using the bathroom, so we both set to with hammers and chisels.
 

 ...just when I thought all the messy work had been done!


I knocked out the old plaster air vent as this is where the new fan will go. The new cabling is already in place for this.


With the tiles removed from the window sill, there was a bit of damage to the rendered surface. The beading was also pretty rusty so I treated it with a coat of Kurust to stop the rot and turn it back into metal.


...and the surface re-rendered with fresh mortar.


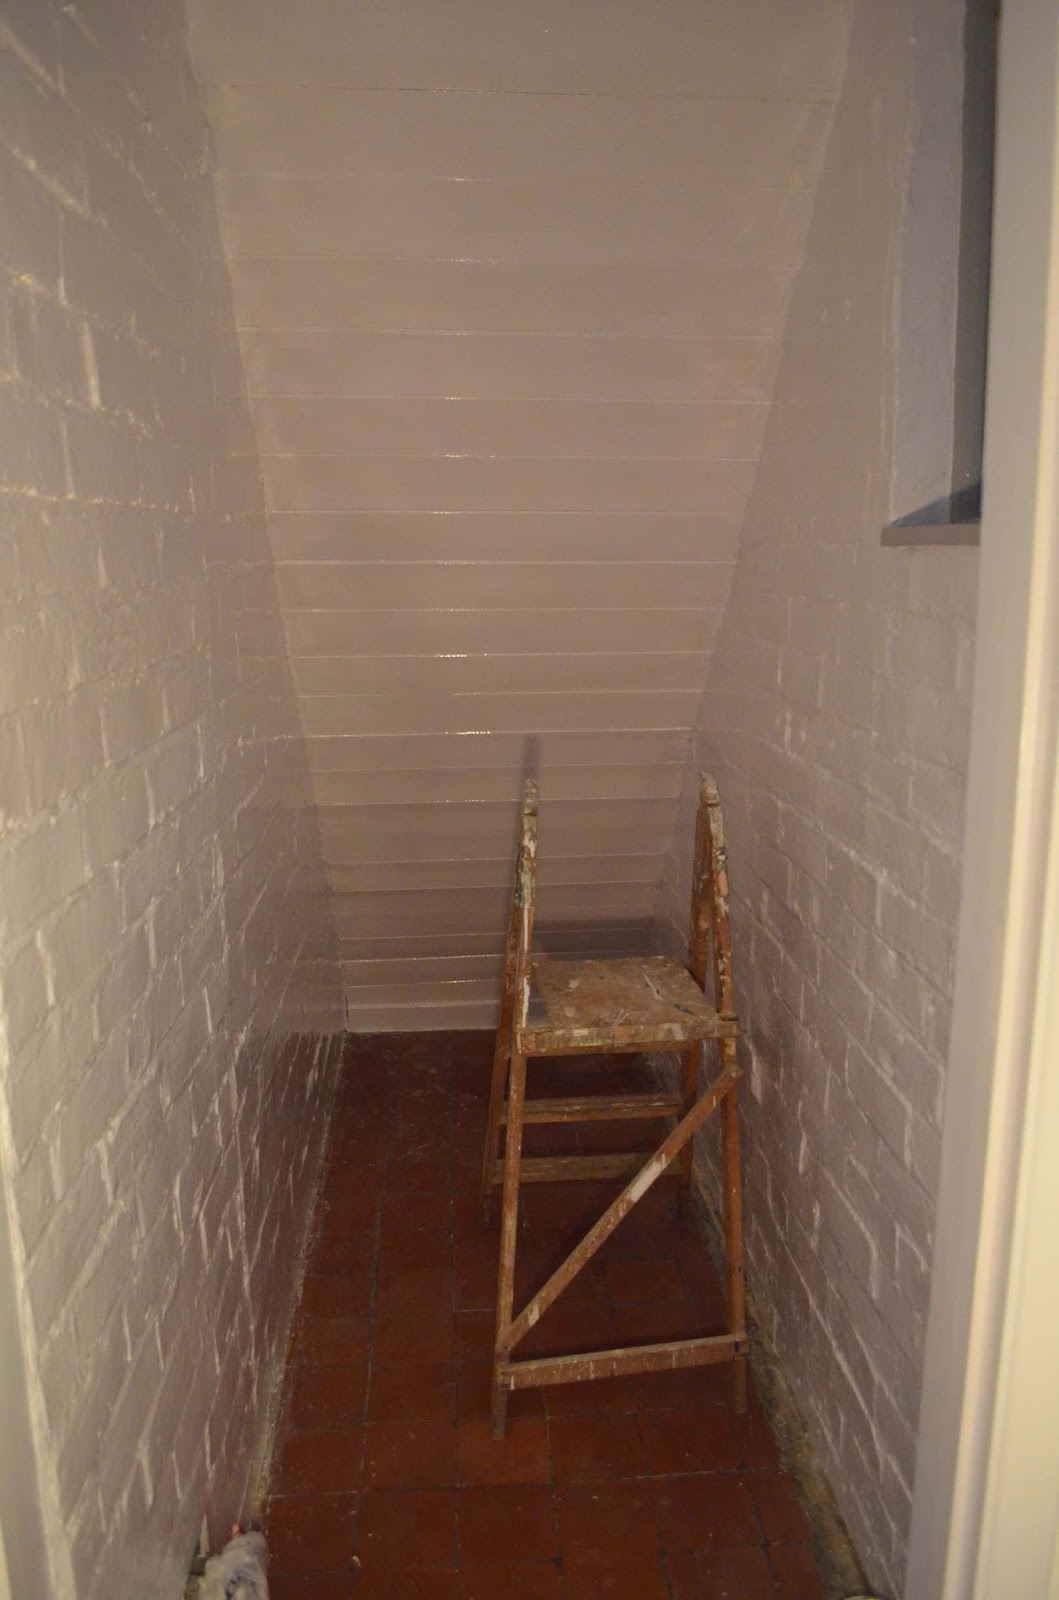
Meanwhile, Jacqui has continued to paint the pantry window frame.  The outer frame has now been glossed and the internal frame has had a second coat of the Dove Grey eggshell.

Sunday 18 October 2015

Weekly update 18.10.2015

I made an effort to finish the kitchen off this week.  I had some left over MDF skirting from a previous project and, seeing as I didn't need too much for the kitchen, this proved to be more than enough.  There was quite a gap to fill behind the skirtings as the plasterer didn't want to plaster down over the DPC injection so I needed something with good gap filling properties.
 
Fortunately, once again, Screwfix had the solution.
 
 
I applied a bead of this stuff to the back of the skirting and along the brickwork, then squashed the skirtings into position. There was enough adhesion to be able to leave them unsupported whilst the adhesive set overnight.  Once set, I sealed the gaps using decorators caulk.


The architraves and skirtings were then painted using a water based, quick dry satin paint.


Meanwhile, Jacqui has been busy in the pantry. The window frame has been undercoated and the walls and understair cladding have been glossed with Dulux Trade White Gloss.


...and then the window frame was top-coated using the Dove Grey Eggshell to tie in with the kitchen.


With the weather still fair, I managed to finish off glossing the outside of the kitchen window, so that's another one ticked off... only 5 more to go!!


I knew the back door frame needed some attention, but on the face of it, it didn't look too bad.


...this part was a little bit "spongy" to the touch though...


...so, out with the chisel and mallet!!  Needless to say, the underlying timber was pretty rotten and the mallet soon redundant! Likewise, the doorstep was a little worse for wear although, being hardwood, had survived a little better.


Any excuse for a new toy... I've been considering an electric plane for a while now so put some birthday money towards one.  Although not ideal for this task, I managed to use it to strip off a thin layer of the damaged wood from the surface of the doorstep.


...and with the damaged wood cleaned up, I applied Ronseal Wet Rot Wood Hardener to the surface and left to set.


Let filling commence...  this is quite a large bit of damage and will probably take a whole tin of 2 part wood filler. The challenge is to re-build the frame to the same shape using the filler. This has to be done using multiple layers, gradually building it back up and sanding shape as you go.


...this is about as far as I got today but it's starting to resemble the original shape and should be sufficiently weatherproof to leave overnight.


Sunday 11 October 2015

Weekly update 11.10.2015

The architrave which I previously removed from the kitchen-dining room doorway was too badly damaged to re-use so I replaced it with new.  Getting straight pieces was a challenge though...  I've seen straighter bananas than the first lot I bought!  Having got a couple of reasonably straight lengths, I just had to mitre them and cut a rebate on the lower section to fit the contour of the step.  That's the last of the architraves for the kitchen, so just skirting boards to do now.  I've cut these ready, but just need to patch some of the plaster where it finishes a bit too high before I fit them.


Out in the front entrance, where the old fusebox had been removed, the rendering was quite rought and a bit damaged so a bit of fresh mortar was mixed up and applied.


...then a rough skim of plaster which will be sanded smooth when dry.


...and whilst at it, a few other blemishes were patched up on the ceiling.


The dining room window has now been sanded, primed, undercoated and glossed on the outer surfaces.


...and bedroom 3 window has been glossed and now complete.


We only recently brought our TV up to the property and, despite the aerial and the two co-ax cables looking pretty new, we just couldn't get a signal from either.


Assuming it was just a weak signal area, I bought a simple plug-in aerial amplifier but, with a maximum gain of only 20dB, it proved to be completely useless so it went straight back to the shop for a refund.  We called upon the services of Capell Bros (now in the hands of Robin Garfield). Turns out that there is already a masthead amplifier attached to the aerial itself but this needs a 12V DC supply to operate.  We suspect that the previous owners may have taken the PSU with them, perhaps thinking it was an amplifier.  Robin fitted a new Triax PSU which feeds the 12V supply up the co-ax cable to the masthead amplifier and also decouples the signal from the DC power feed. Works a treat... we now have access to about 174 channels, picking up not only the main signal from the Waltham transmitter but also some additional channels on the side of the aerial coming from the Sandy Heath transmitter!

The Triax 12V DC PSU

The co-ax cable on the front of the house extended down only as far as the main bedroom. I wanted it to supply the living room below so bought some foil screened co-ax cable and joined it using a pair of F-connectors and jointer.  As the connection is outdoors, I weatherproofed it using a length of self amalgamating tape.

Whilst investigating the aerial problems, I noticed that there was a small lawn growing in the front gutter so spent a couple of hours at the top of the ladder cleaning it out.


The soil, moss and grass from just the front gutter half filled a bucket and weighed several kilos!


...so with the gutter now clear, the water flows freely.