Bedroom 1 has had its final coat of paint, both on the walls and the window frames this week...

...it's all looking very bright!!

We managed to pick up these brushed chrome curtain rods for less than half price in Homebase. I bought enough for all the bedrooms whilst they were on offer.

I then had to make the bed... again!

...and add a few finishing touches.

So, with bedroom 1 now complete (with the exception of the door and carpet), I turned my attention back to bedroom 2.
You will recall that I've already done the floor and skirtings in bedroom 2 so next up was a thorough inspection of the sash window...
The old Fitch fastener has seen better days. It's not central to the window and some of the screws have stripped out of the frame. I will be replacing this with a new brass Brighton fastener.

The paint has flaked off in places and the remainder of the old muntin bar is visible so this will need to be stripped, filled and repainted.

There's a considerable gap between the lower sash and the staff bead so the sash rattles. Also, the lower sash won't stay in the up position so will need some additional counter weights.

The sash cords slide over the pulleys but the pulleys themselves no longer rotate, so these will also need to be replaced.


The weight pocket covers are in a very poor condition... this one looks like something has eaten it away at the bottom. Probably not worth repairing so I will make a new pair.

The parting bead and sill are showing signs of decay. The parting bead will be replaced as a matter of course, but the sill may need further investigation.


The old pulleys are beyond repair, so new brass ones are already on order.

The slot for the parting bead needed a bit of clearing out with a narrow chisel.

The brickwork around the window also needed some attention so, with the sashes out, I took the opportunity to address this. I scraped out the rather sandy mortar between the bricks.


Then I applied fresh mortar to the joints, working from inside and reaching as much of the brickwork as I could without falling out!


Back to the frame, a bit of prodding revealed that the bottom corners were a bit soft. I chiselled away the worst of this, extending some way along the bottom of the sill...

...and likewise in the other corner.

Then, the tell-tale cracks in the paint on the surface of the sill were scraped away to reveal a deep area of wet rot lurking below.

This was "excavated" with a chisel until I reached reasonably firm wood.

After a couple of generous applications of Ronseal Wet Rot Wood Hardener, I filled the damaged areas with 2 part wood filler.
A temporary board was knocked up from a few bits of OSB and pinned in place to keep the weather out overnight.

The damaged wood was built up using several applications of 2 part wood filler, rubbed down with 150 grit paper between each...

...and once happy with the surface, I applied a coat of quick dry acrylic primer (this should hopefully make the process a little quicker than the previous windows where I used oil based paint).


As with the previous windows, the pulley rebates had to be extended to accommodate the new pulleys.

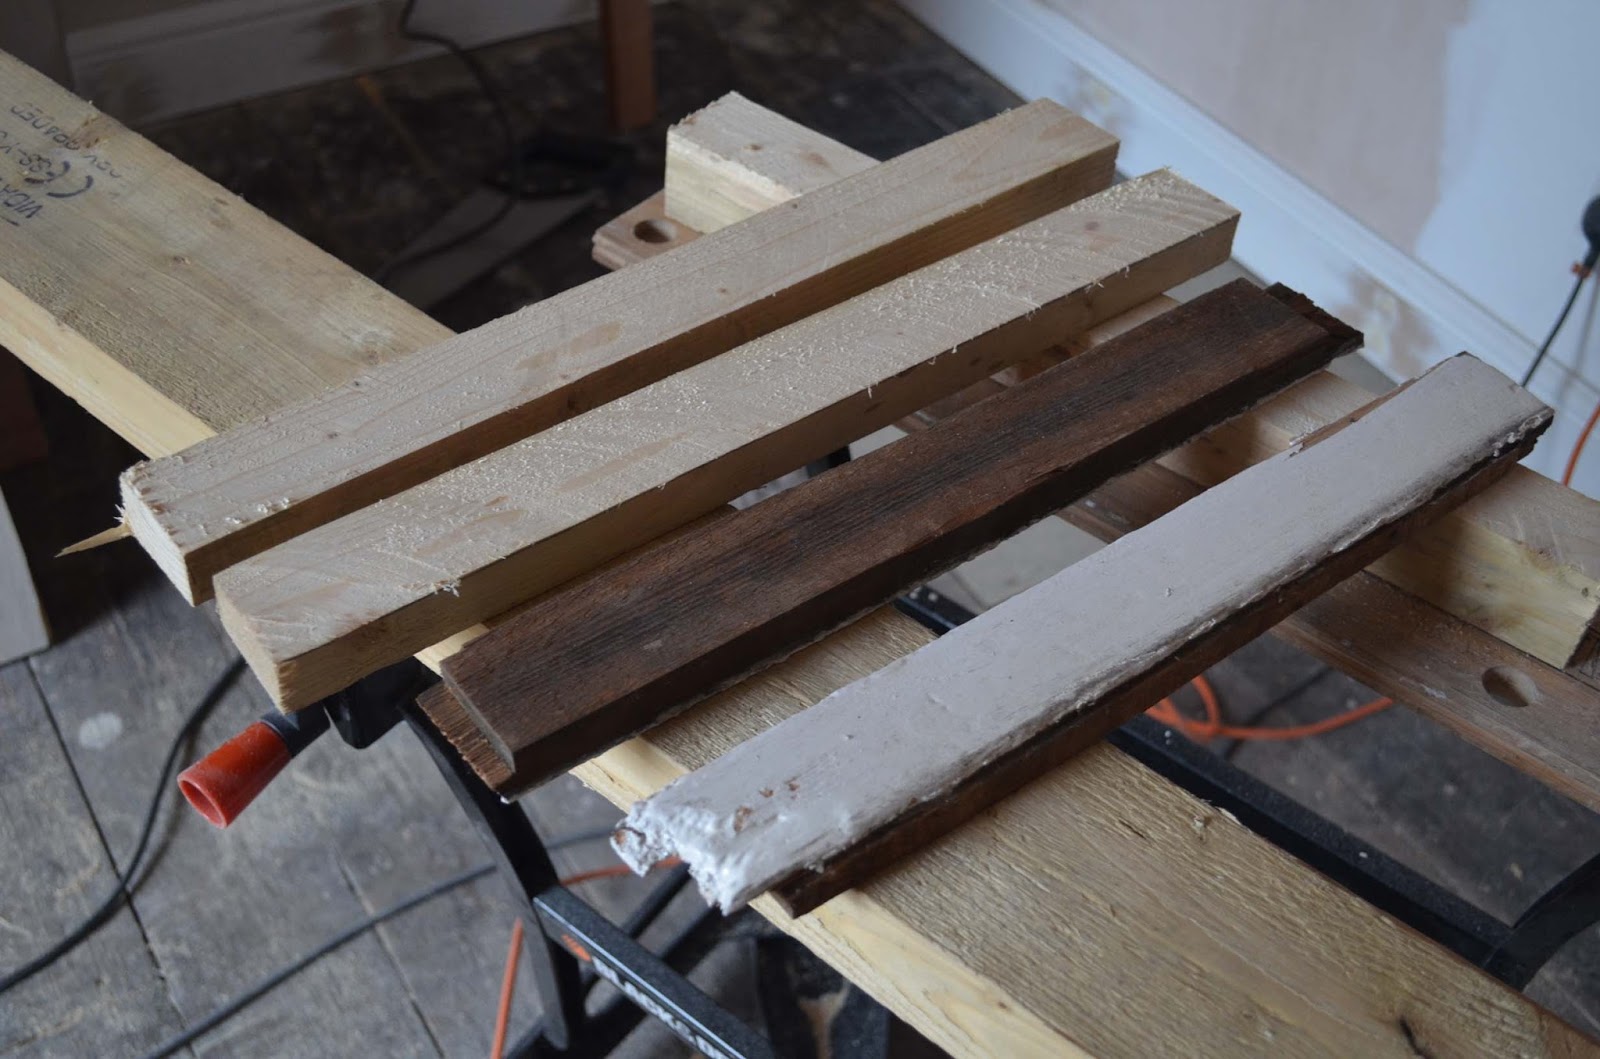
I found an old piece of timber, suitable for the weight pockets and cut it into two along its centre line. This was then planed approximately down to size and the front surface sanded.
Work on these will continue next week...
No comments:
Post a Comment