In preparation for installing the cistern, the new internal components have been assembled and fitted. These include an Opella Dual Flush siphon, a Wirquin Telescopic Jollyfill inlet valve and a traditional Victorian style flush lever. The latter was a bit loose in its mounting so I added a couple of lengths of adhesive lined heatshrink sleeving to the shaft for a better fit...


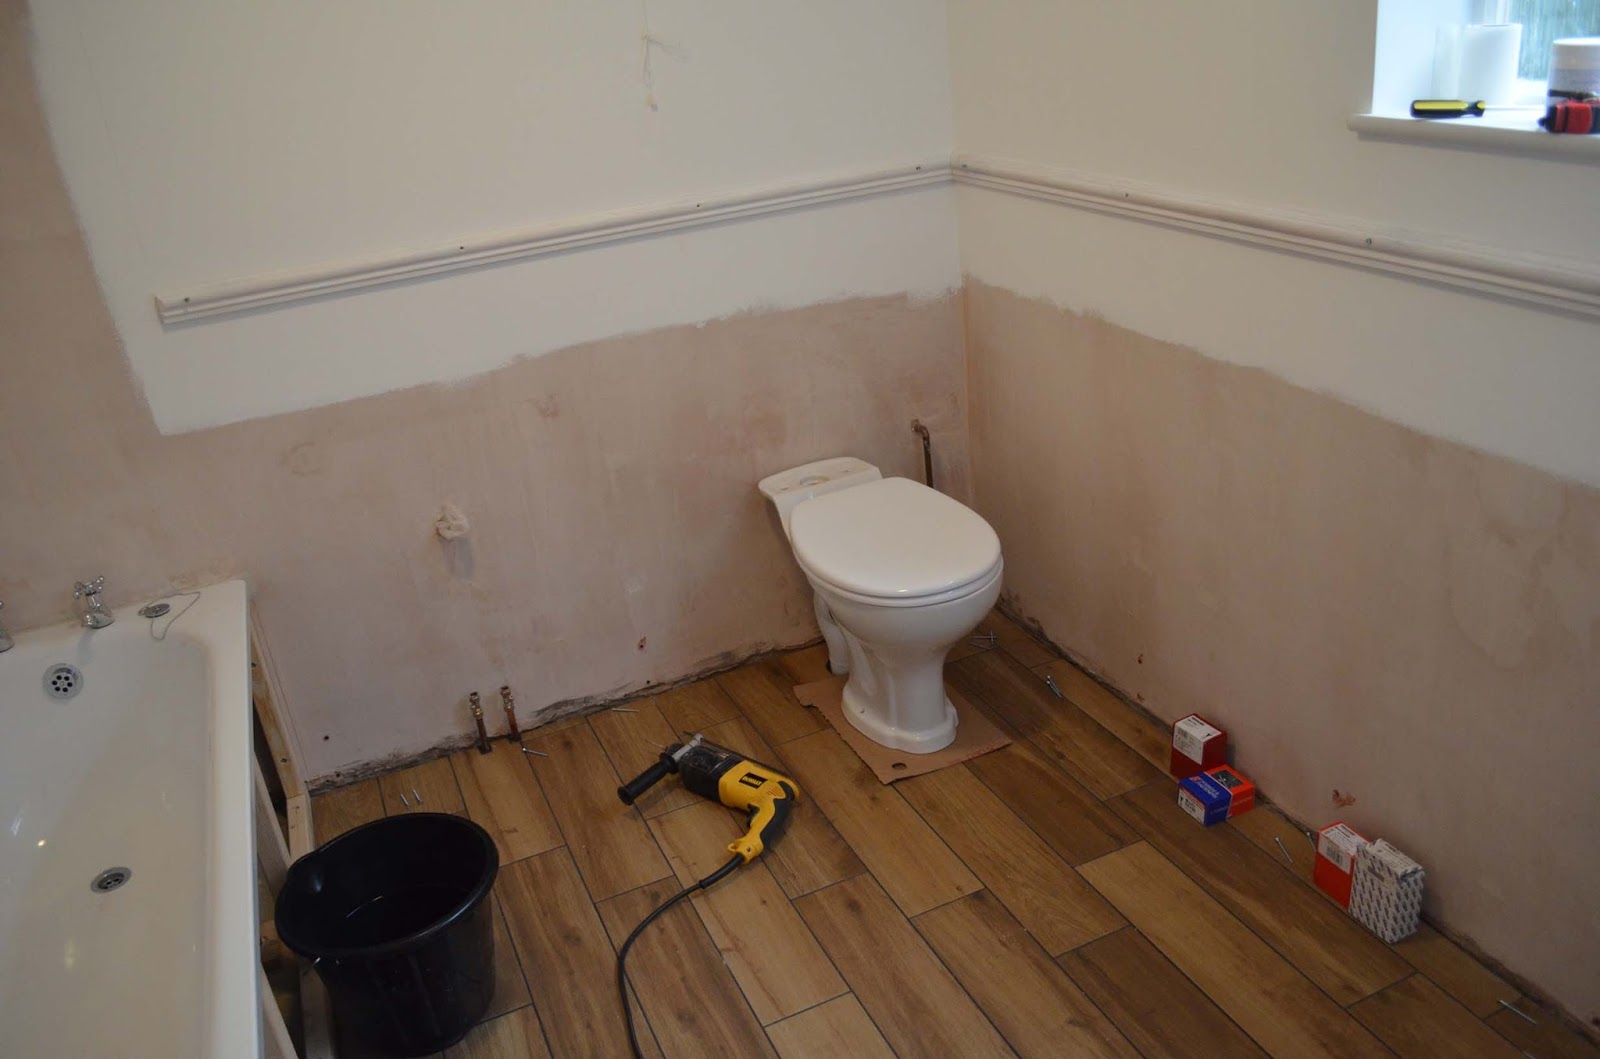
With the bathroom floor tiles now complete, grouting could get underway.

Once again, a few fraught hours were spent pushing the grout residue around the floor until enough of it had been removed to allow it to dry without fear of staining the tiles.

We'd decided on a Torus profile for the bathroom skirting and, on a chance visit to B&Q, we spotted just the thing. They do a Torus skirting with an 8mm rebate at the top... perfect for the 7.5mm T&G to slot into! Not only do they sell the skirting, but also a dado rail, also with an 8mm rebate... perfect to top off the T&G!
This has all been cut to length, chamfered, drilled and primed back and front.

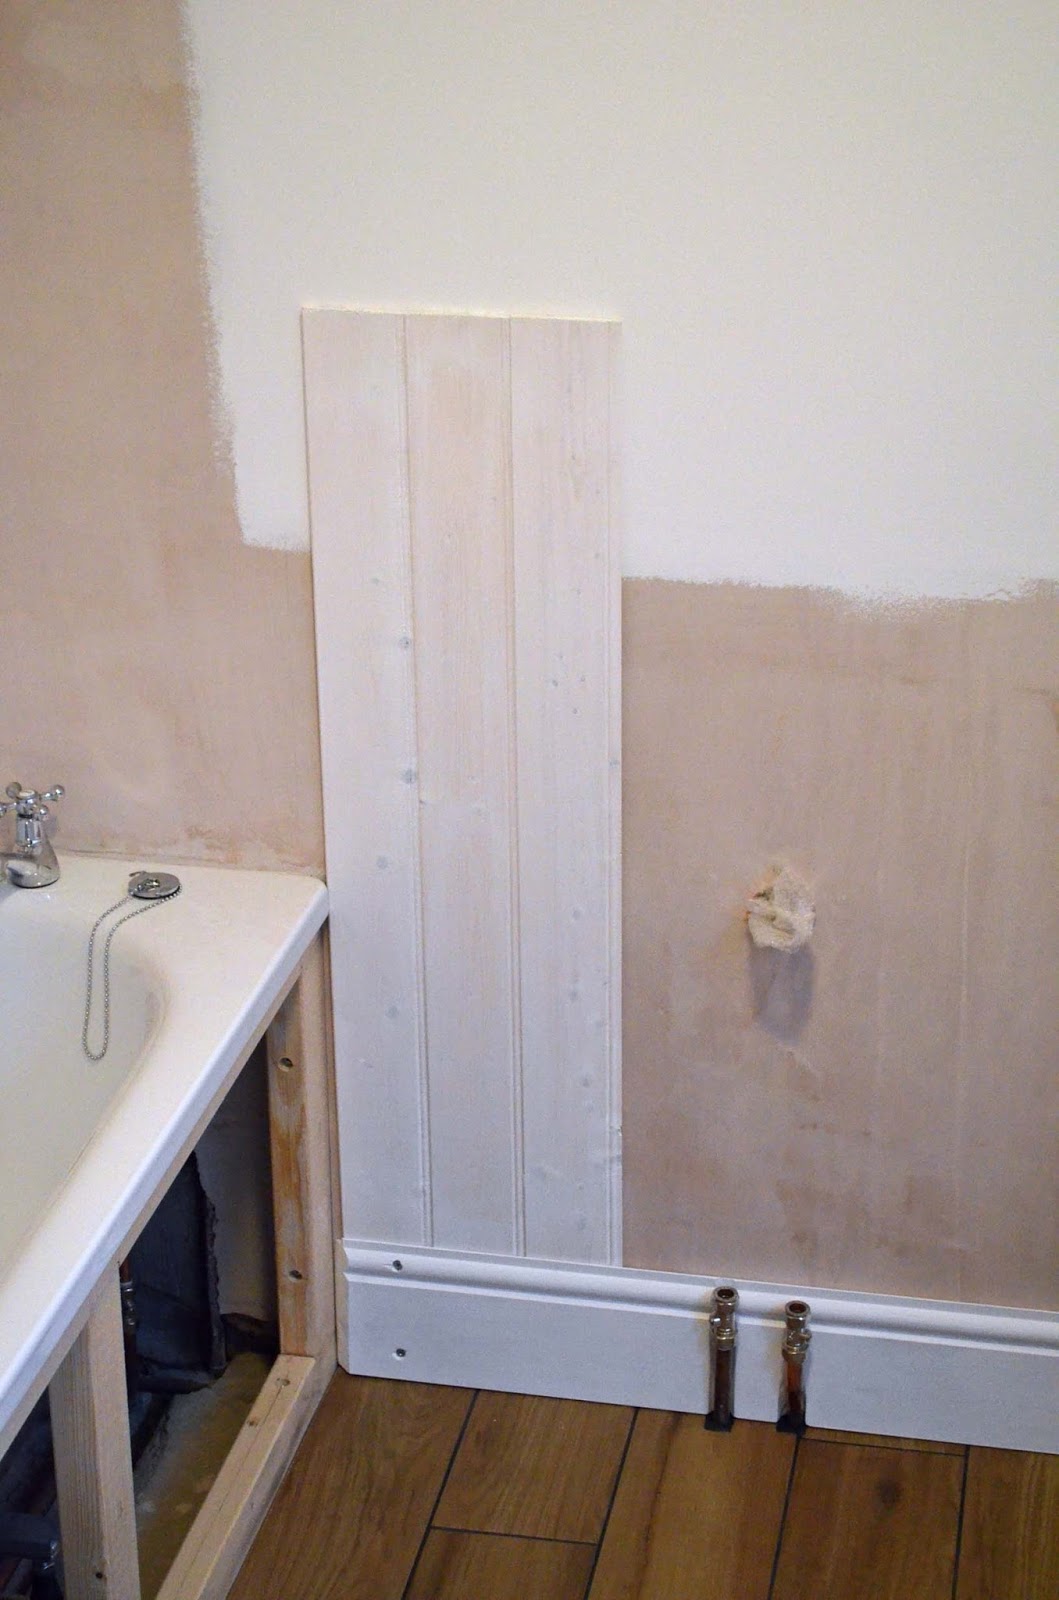
I had to rout the skirting to clear the basin and w/c pipes.

...fits quite neatly.

The skirting was fitted temporarily to check the joints before being removed for further painting.

...and where the plaster had been stopped short of the floor, due to the earlier damp proofing work, timber spacers were fitted to the wall using grab adhesive to provide a flat surface for the skirting to sit against.

Much of the week has been spent priming and undercoating the T&G panels... all one hundred of them!!

...and a quick preview of the panels slotted into the rebate in the skirting board.
With the flooring complete, the bathroom door frame has now been finished off with new architrave. This has been treated with knotting solution to prevent resin from seeping through the paint.

The dado rails have been mitred into the corners and chamfered to meet the architraves.

The skirting boards and dado rails have been given a first topcoat of Johnstones Trade Acrylic Gorse before being fitted. They will have another coat or two once fitted.

With Christmas fast approaching, we thought it a good idea to put the fireplace in so we have somewhere to hang Christmas stockings! This will be a temporary fit at this stage as we will remove it again for decorating.
First, the granite hearth was centred on the chimney breast.

The timber surround had originally been secured using exposed brass mirror plates. These were removed as we're using invisible fixings. These consist of a set of four brackets secured to the wall...


...and corresponding "L" brackets screwed to the inner edges of the fire surround.


The cast iron insert has, for now, just been stood in place on the hearth...

...and the timber surround simply lifted onto the brackets and lowered. The brackets pull the surround firmly against the wall.

No comments:
Post a Comment