I made an effort to finish the kitchen off this week. I had some left over MDF skirting from a previous project and, seeing as I didn't need too much for the kitchen, this proved to be more than enough. There was quite a gap to fill behind the skirtings as the plasterer didn't want to plaster down over the DPC injection so I needed something with good gap filling properties.
Fortunately, once again, Screwfix had the solution.

I applied a bead of this stuff to the back of the skirting and along the brickwork, then squashed the skirtings into position. There was enough adhesion to be able to leave them unsupported whilst the adhesive set overnight. Once set, I sealed the gaps using decorators caulk.

The architraves and skirtings were then painted using a water based, quick dry satin paint.


Meanwhile, Jacqui has been busy in the pantry. The window frame has been undercoated and the walls and understair cladding have been glossed with Dulux Trade White Gloss.

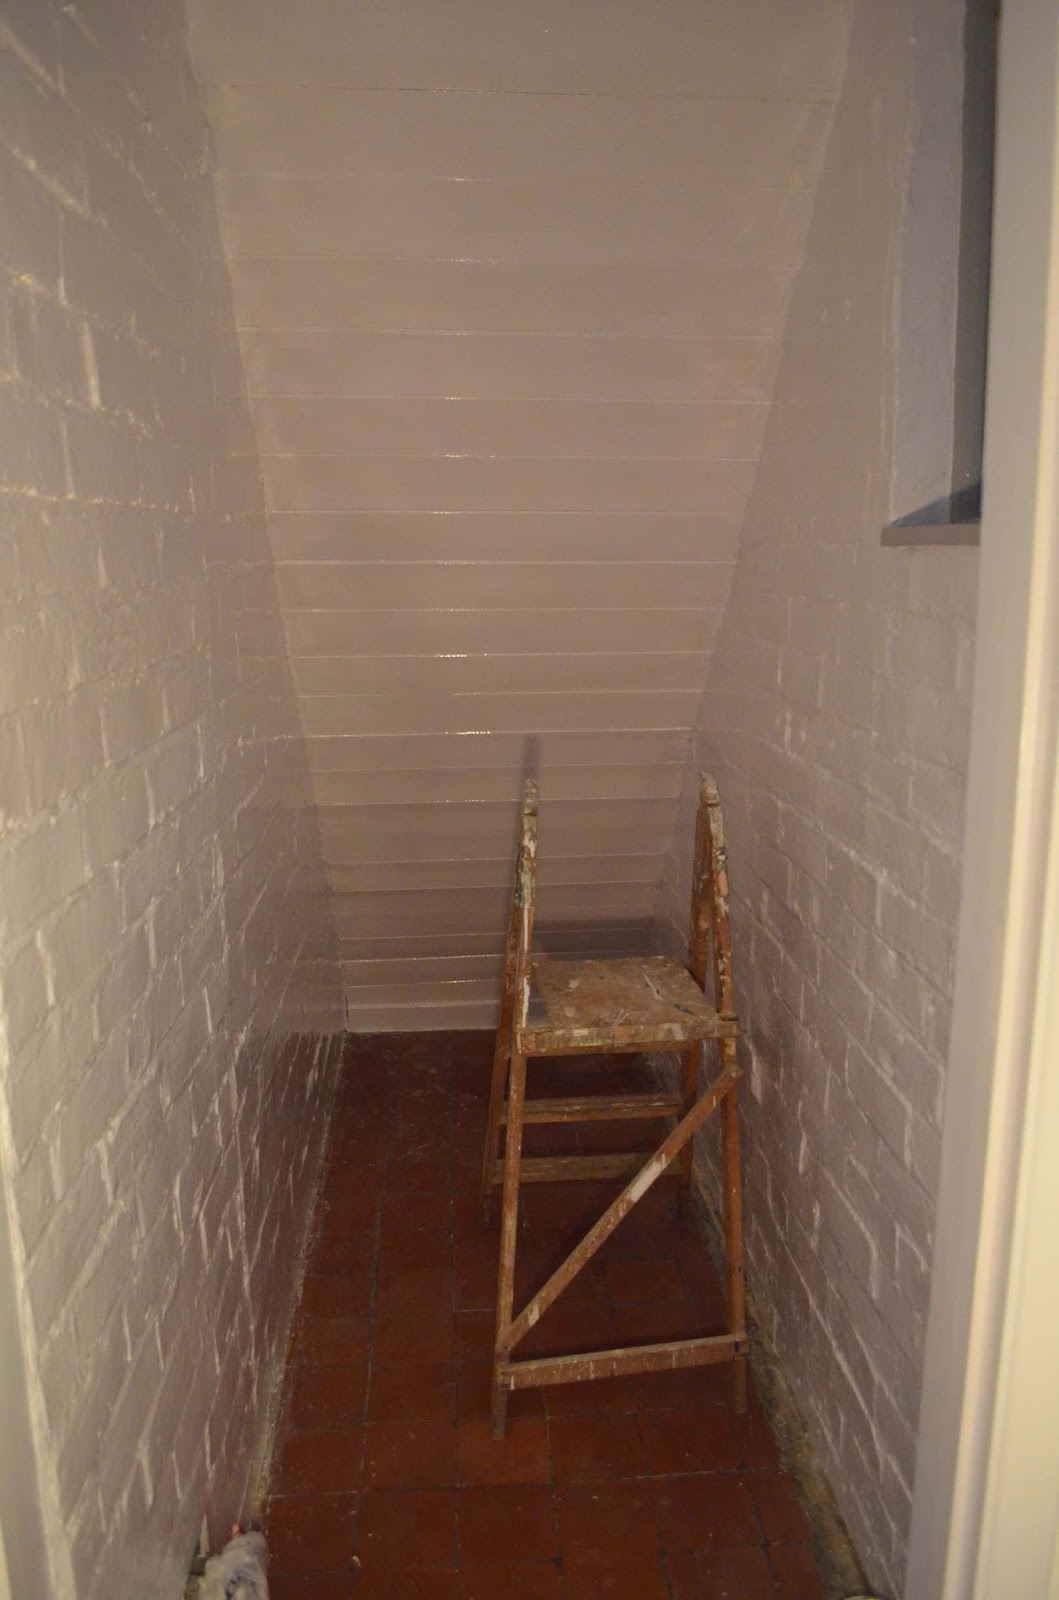
...and then the window frame was top-coated using the Dove Grey Eggshell to tie in with the kitchen.

With the weather still fair, I managed to finish off glossing the outside of the kitchen window, so that's another one ticked off... only 5 more to go!!

I knew the back door frame needed some attention, but on the face of it, it didn't look too bad.

...this part was a little bit "spongy" to the touch though...

...so, out with the chisel and mallet!! Needless to say, the underlying timber was pretty rotten and the mallet soon redundant! Likewise, the doorstep was a little worse for wear although, being hardwood, had survived a little better.

Any excuse for a new toy... I've been considering an electric plane for a while now so put some birthday money towards one. Although not ideal for this task, I managed to use it to strip off a thin layer of the damaged wood from the surface of the doorstep.

...and with the damaged wood cleaned up, I applied Ronseal Wet Rot Wood Hardener to the surface and left to set.

Let filling commence... this is quite a large bit of damage and will probably take a whole tin of 2 part wood filler. The challenge is to re-build the frame to the same shape using the filler. This has to be done using multiple layers, gradually building it back up and sanding shape as you go.


...this is about as far as I got today but it's starting to resemble the original shape and should be sufficiently weatherproof to leave overnight.

No comments:
Post a Comment