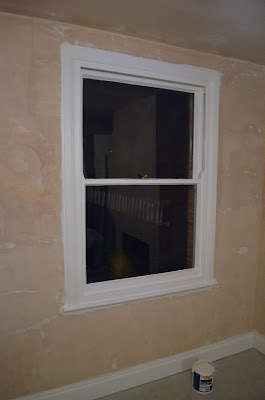
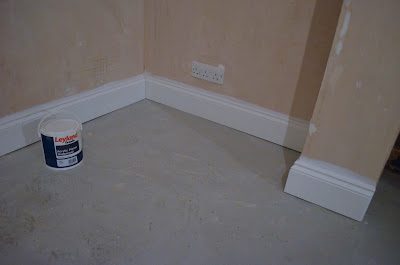
Whilst prepping the walls for painting, I thought it prudent to knock out a hole for the TV aerial socket. I chose a position in line with the drop cable on the outside wall and at the same height as the power sockets on the adjacent wall. To prevent the plaster from cracking, I scored the outline and a grid pattern using a sharp knife.
A single gang 25mm pattress will be sunk into the wall, fitted with a standard co-axial TV socket plate from the MK logic range to match the other sockets in the room.
I then set the depth gauge on the SDS percussion drill to about 26mm and "pepper pot" drilled round the profile.
The chisel attachment was then fitted to the SDS drill and the brickwork chiselled away to form a neat recess. A pair of 5.5mm fixing holes were drilled into the back and an 8mm hole drilled right through to the outside. This is at a slight downward angle to discourage any stray rainwater from finding its way in.
On the outside, it was necessary to extend the aerial cable by about a metre. Previously, the cable had been run through a hole in the window frame (which is what had caused the frame to rot so badly) and was therefore too short to reach the new, lower position. The neatest way to join this is with a pair of F-connectors and a coupler. F-connectors are threaded so are much more secure than a standard co-ax connector. The ends of the cable were stripped and prepared and the connectors fitted. These were then joined by firmly screwing them onto the coupler.
The joint needs to be completely watertight... even the smallest amount of moisture will cause corrosion and will play havoc with the TV signal. Self-amalgamating tape is often used for this purpose, but I have found it to be a bit temperamental so I ordered some 15mm 3:1 ratio, adhesive lined heat-shrink sleeving. This is just big enough to slide over the connection then, when heated with a heat gun, it shrinks down tight onto the connector and the cable either side and the internal adhesive melts to form a total seal to prevent water ingress.
7mm cable clips were used to secure the cable to the wall, leaving a hanging loop at the bottom to prevent rain water running down the cable and into the wall.
Back on the inside, the pattress could then be fitted and a little skimming plaster applied round the edges. Once dry, this was sanded back to a smooth finish.
Then, using a 10% diluted mist coat of white emulsion, the cutting-in could begin...
...and the walls and ceiling mist coated using a roller.
Then a couple of topcoats of emulsion to finish off.
And with the painting complete and dry, the co-ax socket could be fitted. For a MK product, I found the method of connection particularly poor, probably not helped by the stiffness of the cable.
The dining room door frame is in need of a bit of work... the hinge positions are correct but the rebates are a little too deep and too wide for the new hinges. The screw holes are also in the wrong positions. A piece of stripwood was cut to size to reduce the width and some scrap timber was whittled down to plug the old screw holes. PVA was used to secure these.
Once the adhesive was cured, some filler was applied and sanded back to a smooth finish. The frame could then be primed, ready for painting at a later stage.
Jacqui has spent a lot of time removing the charring from the brickwork at the rear of the open fireplace. It was also in need of a bit of re-pointing.
We're hoping to retain the exposed brickwork as a feature, but will take a view once the mortar has fully set and been cleaned up - the alternative is a coat or two of white masonry paint.
Once the mortar had dried, Jacqui set about painting the inner sides of the fireplace with white masonry paint.
As the dining room is nearing completion, the lounge has been temporarily relocated into the space.
With the lounge cleared of furniture, the edges of the floor could finally be sealed with expanding foam... may have overdone it a little!!
Before spraying the foam, I ran a new length of 3-pair telephone cabling through from the hall and along the edge of the floor. This will supply the master socket which I will locate to the right of the bay window and then an extension cable will continue round the bay window into the opposite corner of the room where a second socket will be installed.
So now the skirtings could be fitted. Once again, grab adhesive was used to secure them.
Whilst I had some mortar mixed up for re pointing the fireplace, I took the opportunity to finish sealing off the old drain under the kitchen window.


No comments:
Post a Comment