The staircase has T&G cladding, roughly fitted to the underside. One of the panels had been cut out at one end to accommodate a protrusion from one of the stairs. On investigation, the protrusion turned out to be just a small piece of wood nailed to the back edge of one of the treads and seemingly serving no purpose. I removed the panel and the spurious piece of wood and fitted a new piece of cladding.

With the final coat of paint drying on the cupboard doors, I set about tiling the kitchen walls. We chose the pistachio PRG40 tile from the Johnson Tiles Prismatics range and these will be arranged in a brick pattern.
First though, the bare plaster had to be sealed using a dilute PVA solution. Then, with the sockets pulled forward, tiling could commence.

I used 2mm spacers between tiles and also to space the tiles off the worktop. Whole tiles were fitted first, leaving the fiddly cut bits till later.


More by luck than judgement, each of the three mains sockets ended up within the space of a whole tile, so a bit of careful cutting was called for.

First, the tile was masked so that the cut-out could be easily drawn on...

...then, using a special tile drill bit, the corners were drilled. The masking tape also helps to stop the drill bit from wandering across the glossy tile surface.

With the holes drilled, the tile saw could be inserted and the inner section cut out.


Finally, the cut tile is fitted.

The window ledge proved a bit of a challenge as it is slightly bowed in both planes across its length so each tile had to be cut to a slightly different size to accommodate.

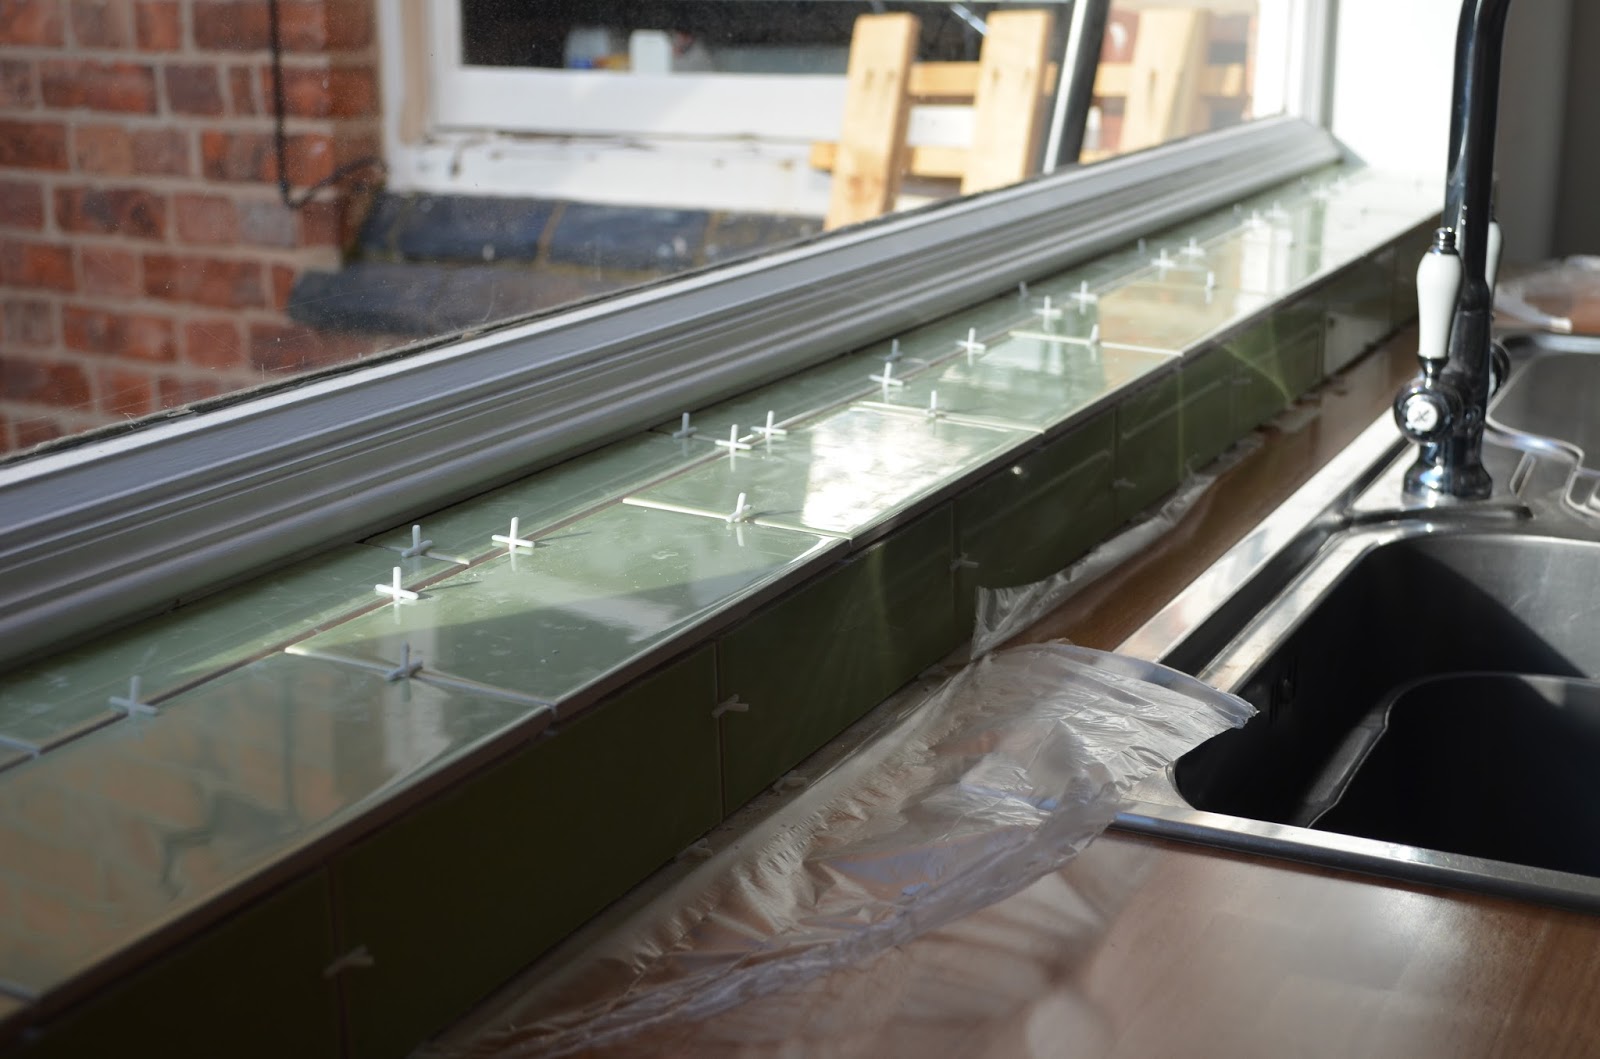

With the adhesive left to set overnight, the spacers were removed the following day, then the tiles were grouted using a waterproof, mould resistant grout.

Whilst waiting for grout to set, I put a few of the cupboard doors up to see how they would look.

Once the grout had set, I removed the inevitable film of grout from the surface of the tiles and polished them to a nice shiny finish.


No comments:
Post a Comment