
With the lock nuts semi-tightened, the cams were rotated until the basin was perfectly level. The lock nuts were then tightened fully to secure the basin to the wall.

So now the hot and cold water feeds could be completed. 15mm copper pipe was cut to length and connected between the isolating valves and the flexible tap tails. Plastic pipe clips were used to secure the pipes to the wall.

A quick test with hot and cold running water to see if there are any leaks.

...and once happy, the pedestal was eased into position and screwed to the floor.

The toilet roll holder was fitted to the wall using a concealed fixing.

Back to the panelling. The removable panel has been constructed by gluing the lengths of T&G to two horizontal battens, held in place with G clamps...

...and the remainder of the panels were glued to the timber framework and clamped.


The seat top has been cut from 18mm marine ply and I've rounded the front edge to a bullnose profile for comfort. The centre was cut-out roughly using a jig-saw, then carefully routed to straighten and neaten the edges.

This was then used as a template from which to make the lid (also from 18mm ply). A 32mm holesaw was used to make the finger hole which will allow the lid to be removed.

The seat will conceal the hot and cold water pipes and the washing machine waste pipe which run along the wall.

I didn't want these pipes visible from inside the box so have cut 6mm ply to form internal walls.
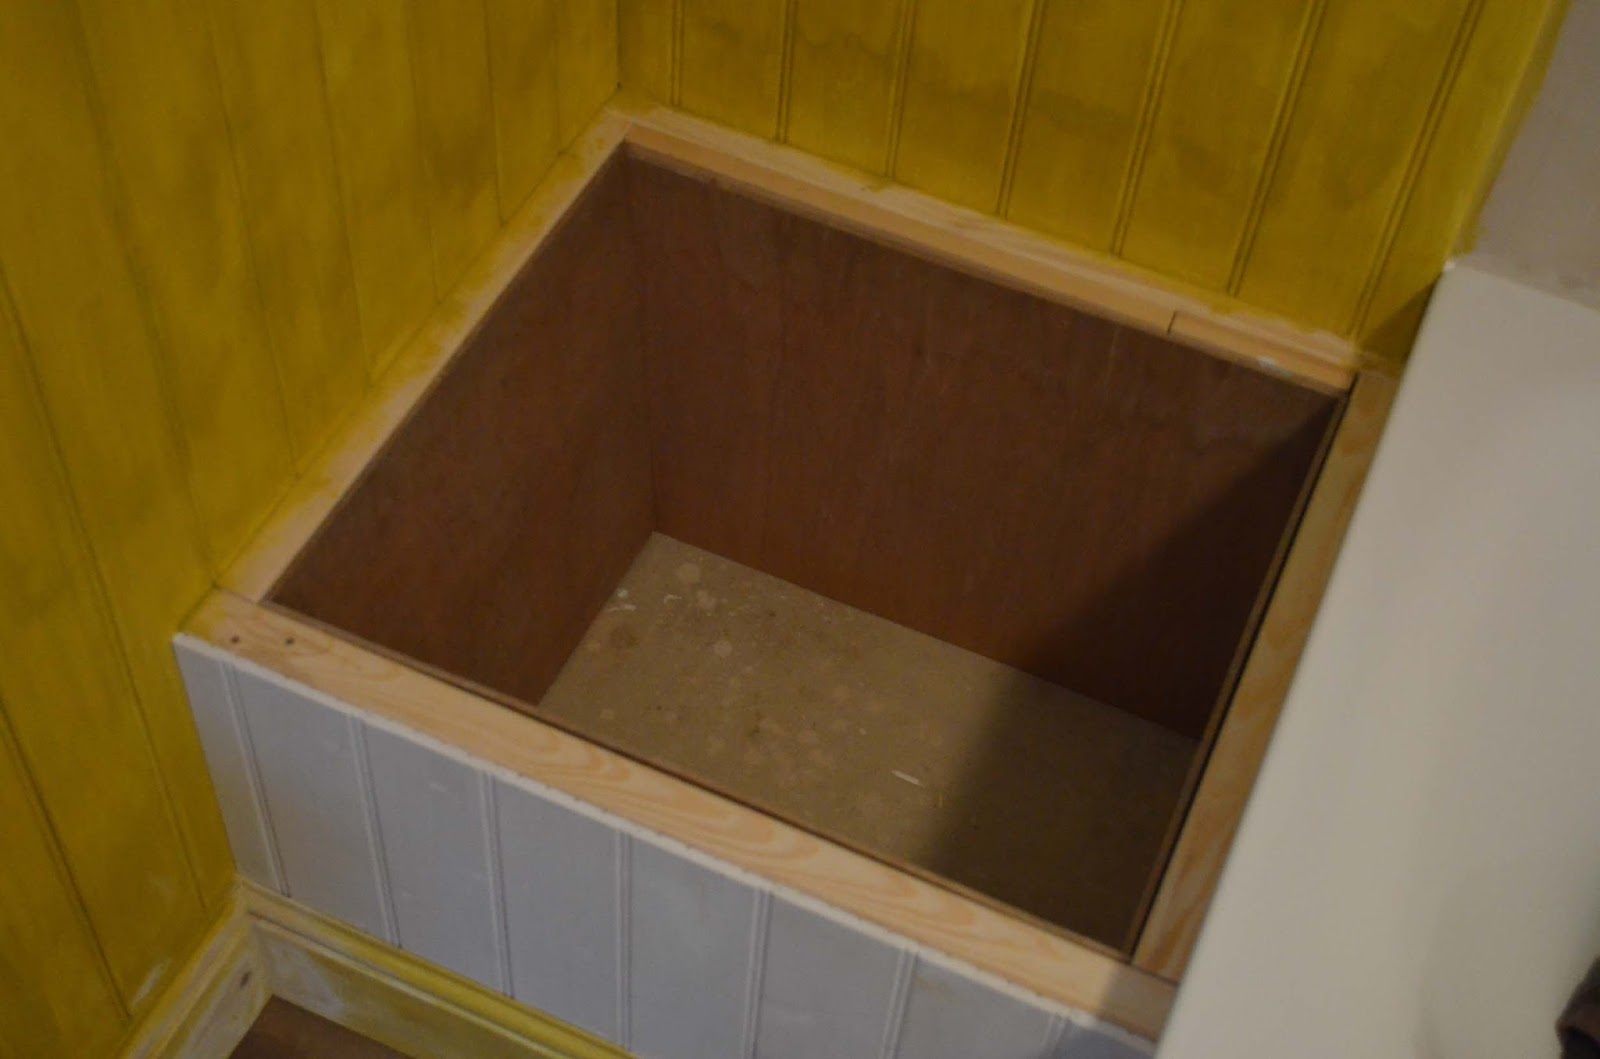
I've recycled some old timber (previously a door stop) to use as battening. This is glued to the bottom edges of the ply panels. The panels have been glued and nailed to the top edges of the frame, then glued to each other along their corner edges. Opposing panels have been pulled together whilst the glue dries using lengths of string, twisted to generate tension. Once the glue is set, a base panel will be cut to size and set onto the battens.

The seat top has been primed...

...as has the lid.


In the mean time, Jacqui has sourced suitable material for the living room and dining room curtains. A thermal lining is being added to keep out the draughts.

No comments:
Post a Comment