As the weather was still good, I decided it was time to tidy up and clear a bit of outdoor space this week. So all of the old bricks which we had taken out of the fireplaces were stacked together and advertised on Gumtree for use as hardcore. Despite a quick initial enquiry, it's still here, so will try again next week.

In preparation for the bathroom refit, I spent quite a few hours cleaning up the porcelain sanitary ware, using copious amounts of the Screwfix silicone eater! I sourced new internals for the cistern, including a dual flush siphon, Macdee telescopic bottom fill valve, close coupling kit and overflow stopper. Just need to find a suitable flush handle now to complete the set.

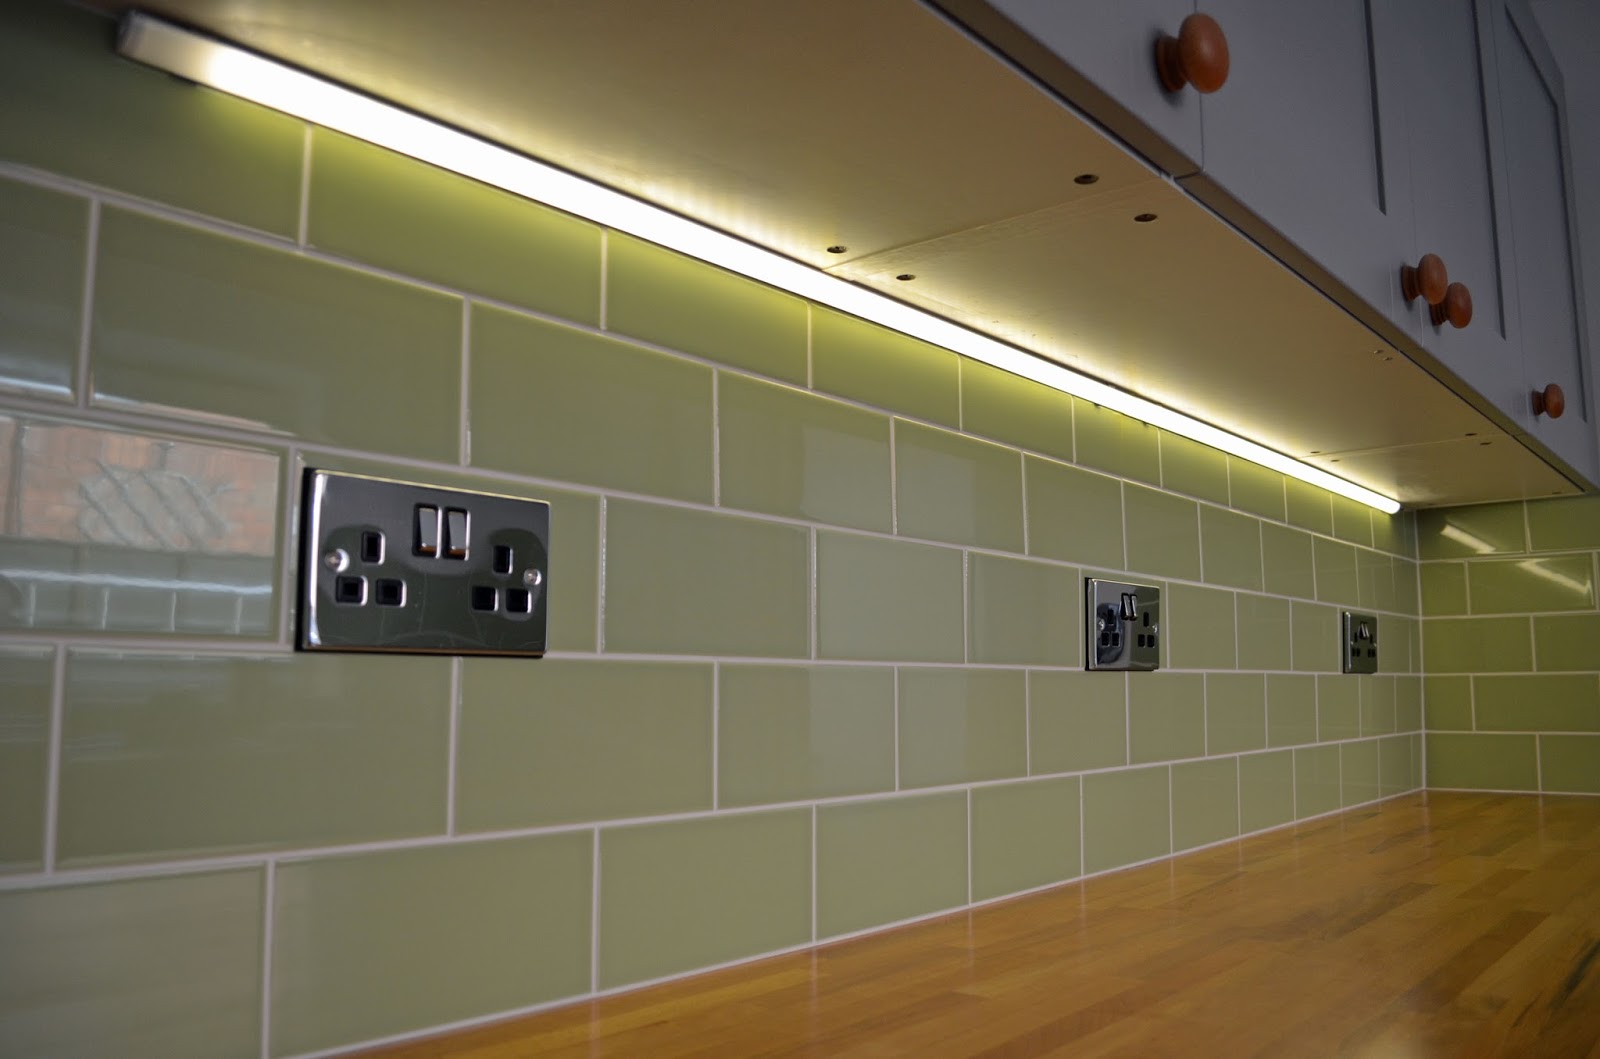
The aluminium extrusions arrived on Thursday so I could crack on with the under-cupboard lighting for the kitchen. The extrusions came in 1m lengths so would have to have a join in the middle. No matter as it's a triangle section and will fit right up against the wall, pretty much out of sight.

This is the 2m long, flexible LED strip. It's waterproof, runs off a 12V supply and uses only 12 Watts per metre. Not bad for a fiver!

...and this is the aluminium extrusion. It's very compact at only 16mm x 16mm and has a 10mm inner face angled at 45 degrees for the LED strip to stick to. Each strip comes with a pair of neat mounting clips which I simply screwed into the base of the cupboards.

I chose the frosted lens which gives it a nice even spread of light. A pair of neat little end caps completed the installation. Very illuminating!!

So, with the lighting complete, the cupboards and worktop were promptly filled.

Back to the bathroom preparations... I thought it time we got rid of the old gas storage heater. This has already been isolated from the gas supply when the boiler was put in so just needed removing from the wall.

With the cover removed, it was a simple case of removing the four mounting screws.

However, the flue was well and truly cemented through the wall! I carefully chipped away the mortar round the edge, at the same time deforming the flue so as to free it from the wall.

With everything removed, I located a couple of suitable half bricks to re-fill the holes.


I'd saved the architraves from the kitchen and lobby doorways, but they were all in a tatty condition. The architrave for the doorway into the dining room was too rotten to re-use, but the others were useable. It took a long time an a fair bit of effort to strip off the old paint and plane and sand them back to decent timber.

With them suitably prepared, I re-fitted them to the frames using, where possible, the old nail holes to ensure that they were correctly positioned. Even with them in this condition, they smarten up the doorways.

The nail holes and any small blemishes were then filled using a 2 part plastic wood filler.

No comments:
Post a Comment