Sunday, 6 September 2015

Weekly update 06.09.2015

With the kitchen and lobby floor tiles now laid and grouted, the washing machine could be reinstated in the lobby so we now have some clean clothes at last!!

Grouting with black tile grout proved to be something of a challenge... because it makes such a mess on the tile surface, it needs to be sponged off quickly before it dries but, conversely, it's all to easy to wash out the pigment and end up with grey grout rather than black so the art is to strike a balance between the two.


So with the floor now complete, work could start on the end panels and plinths.  These are from 15mm ContiBoard and will be painted with the same Dove Grey Eggshell as the doors.  Having cut the panels roughly to size, they were trimmed using the router.  This gave them nice clean edges for a neat fit.


The plinths were cut from 15mm x 152mm ContiBoard and had to be contoured to follow the slight curve of the floor line.  The right hand plinth also had to be rebated by a few mm to clear the bottom of the dishwasher door which fouled it when opened.


After a light sanding to key the smooth surfaces, the boards were taken to the paint shop (spare bedroom) and primed along their exposed edges before being undercoated using the same Leyland dark grey undercoat previously used for the doors.


...and once dry, two coats of the Dove Grey Eggshell were applied with a sponge roller for a smooth finish.


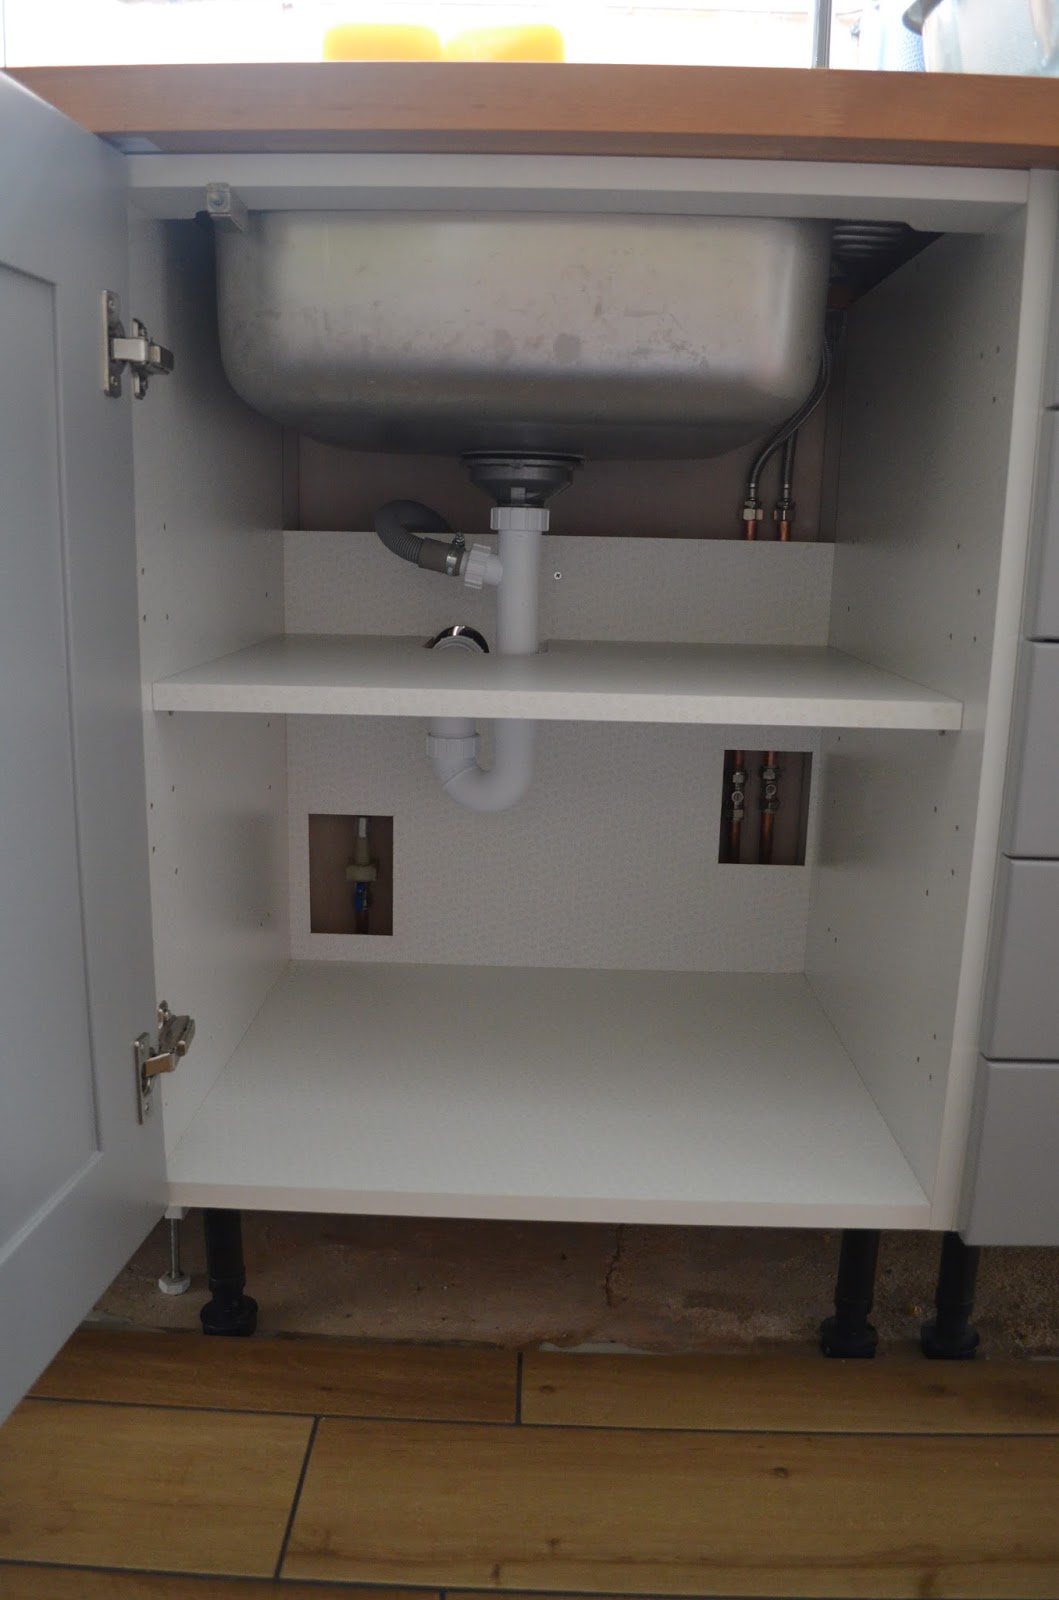
I decided to utilise the shelf that came with the sink carcass, but this had to be routed to fit round the sink waste trap.


...it adds a little extra valuable storage space!


The soft-close pistons from the old kitchen units were dis-assembled, cleaned and fitted to the new carcasses.


So, the kitchen is nearly done... the plinths and end panels will be fitted once the paint is dry.  I will order an aluminium extrusion in which to mount the LED strip light and that just leaves skirting boards and architraves to be fitted.


Sunday, 30 August 2015

Weekly update 30.08.2015

Having spent a week packing boxes down in Bromley, a couple of days in Little Clacton, helping mum move into her new house and a day off to play golf at Kilworth Springs this week, progress on the house since the last update has been modest.

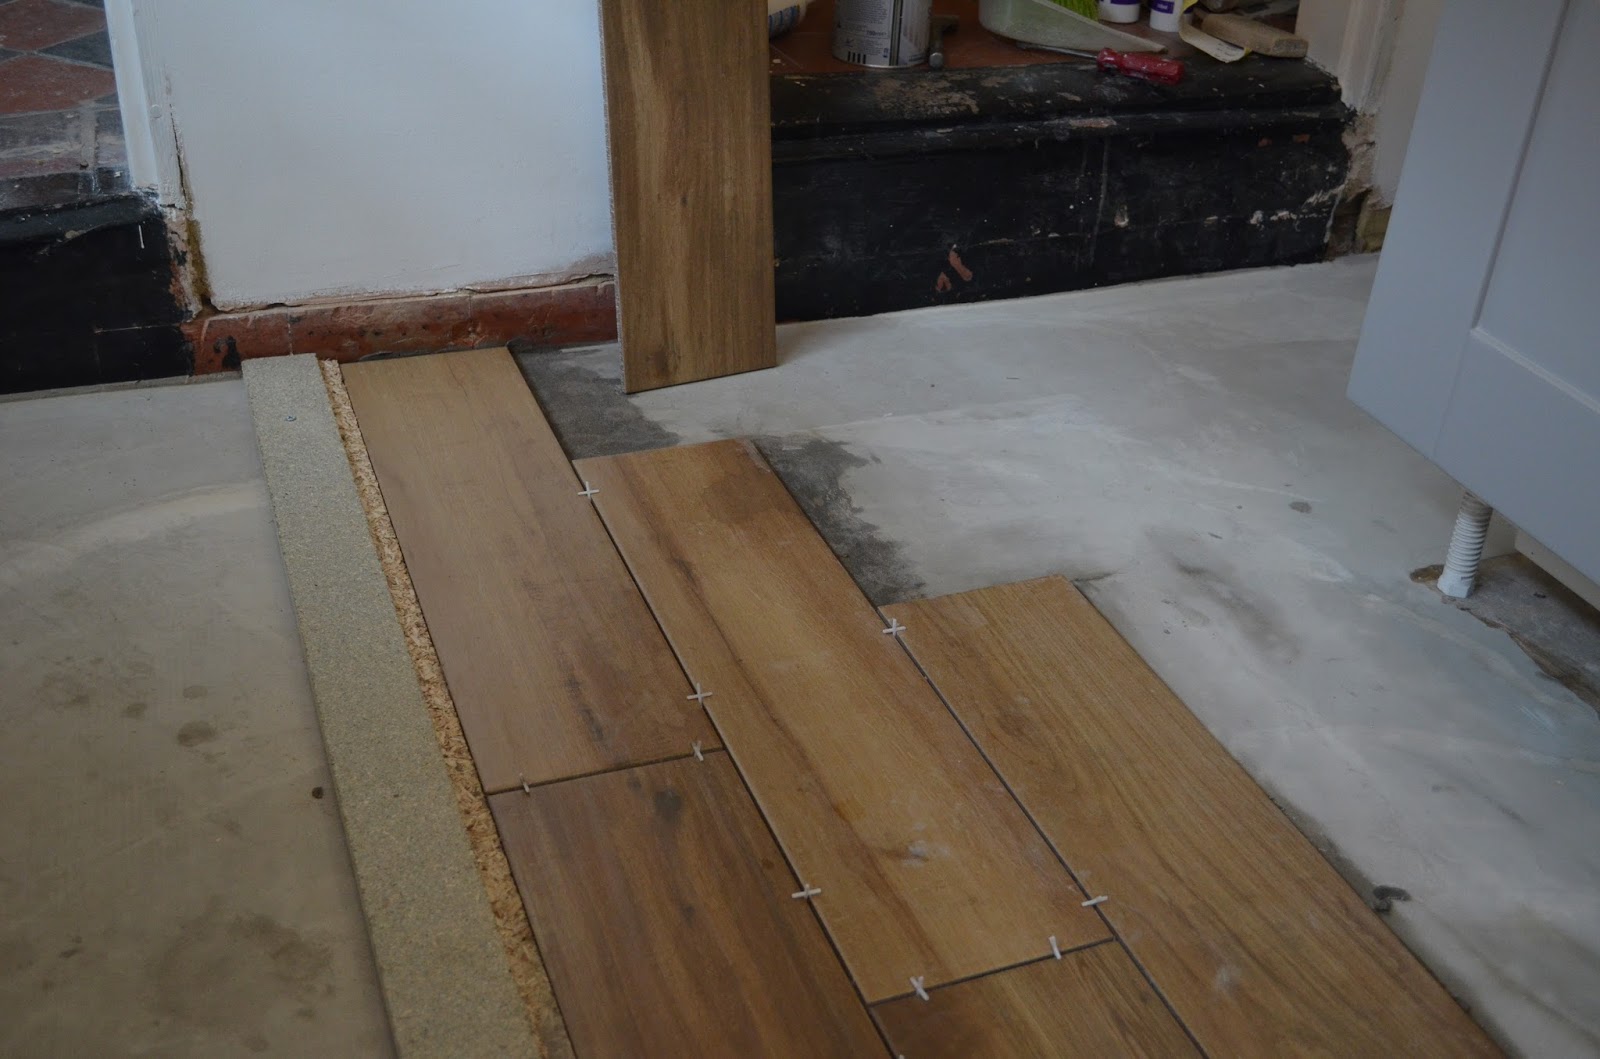
However, the oak effect floor tiles have now been laid in the kitchen and most of the lobby.  The trusty electric tile cutter was pressed into service as the tiles are about 8mm thick and not easy to cut any other way.  The Mapei tile adhesive was supplied in 20kg bags and, as it is rapid-set, I had to decant it into smaller quantities so as not to mix up too much in one go and waste it.  The paddle mixer proved invaluable for this.


I was a little nervous using black grout, having never used a dark grout before, so I tested it on a small area of the lobby.  It's certainly quite alarming when you first see it spread across the surface of the tiles.


..and with most of the excess removed, I left it to dry.


..then polished off more excess!!  It takes a bit more effort than lighter grouts.


Jacqui has continued work on the pantry.  The gaps around the T&G cladding have been sealed using decorators caulk, the brickwork primed with dilute PVA and undercoated ready for the topcoat.


With the bay window lead roof still letting in the odd drop of rain, it was time to replace it.  My thanks go to John Everett (M&S Loft Conversions) for doing the majority of this work...  I was merely the apprentice!


First, the lead flashing was carefully peeled away from the old lead sheet to facilitate its removal.  The old lead sheet was then removed - it came away fairly easily as it just had a few short nails through the top surface.  The T&G timber deck could then be inspected.  The loose boards were re-secured with no.8 screws and any loose nails were either removed or knocked in.


The new sheet of code 4 lead (3m x 900mm) weighed in at 55kg, so to reduce it to a more manageable weight, it was cut to shape, slightly oversize, whilst still at ground level.  The upstand was then formed along a timber batten.  To keep it fairly flat whilst lifting it into position, we clamped the lead sheet between two timber battens screwed together at either end.


Once lifted into position, the upstand was sealed to the wall using clear building silicone.  The lead was then dressed down over the edges of the timber roof and tacked at the corners using galvanised nails.  The lead flashing was carefully dressed back down over the upstand with a little more silicone for good measure.  Finally, fresh mortar was used to re-point the wall where the flashing is attached.


Sunday, 16 August 2015

Weekly update 16.08.2015

The tin of silver paint arrived last weekend, so I was finally able to finish off the kitchen light renovation.


It's only a small feature but it's much smarter than the old yellowing paint that was showing round the edge previously!!


Getting back to the tiles, with the grout set and the tiles polished, I sealed the worktops using white mould resistant silicone sealant, masked off with masking tape for a neat finish.


...and the finishing touch was to re-fit the nice shiny socket outlets.


With the exception of the two appliances, all the doors and drawer fronts were then adorned with the refurbished wooden knobs and rubber buffers prior to being fitted.

Next up was the dishwasher.  This needed very careful positioning before it could be secured in place as there is no adjustment for the door panel - it needs to be lined up perfectly with the neighbouring cupboards.  This was achieved by gently tapping each of the feet of the washer in the appropriate direction with a hammer, one at a time, until it was aligned.  It was then secured to the underside of the worktop.


As it was pre-owned, the dishwasher didn't come with the fixing pack for the door.  There were two capped off screw holes towards the top of the door and right at the bottom there were another two which I figured I could use as they were just about accessible down the sides of the hinges.

Ironically, one of theses screw positions was right where one of the old hinge holes was on the door!!  The hinge hole was a standard 35mm diameter so I needed to find a way of making a 35mm circular wooden plug to fit.  I figured that a 40mm hole saw should cut a plug of about 35 or 36mm given that the blade is a couple of mm thick (40mm - 2x2mm = 36mm) so I took the 40mm hole saw, removed the pilot drill from the arbour and mounted it in the bench drill.  I even managed to find an offcut of oak to match the original door material.  The resulting plug needed just a light sanding for it to fit perfectly in the hinge hole.  I then just needed to saw it down to the right thickness before gluing it in place with PVA.


So with the door suitably modified, it was fitted to the dishwasher and the door spring tension adjusted accordingly.

In contrast, not only did the fridge come with the door fixings, but it came complete with the old door too!!  The mounting bracket was removed from the old door.  I was then able to measure the exact fixing positions from the old door and transfer them to the new door.  Fortunately, these just missed the hinge hole on the new door.

With all the doors and drawers now complete, I needed to add some trim down the side of the oven and the cupboard opposite, to cover the battens which space them away from the wall.  I found an old piece of pine which was exactly the same thickness as the doors and just a little wider than I needed.  Having cut it into two pieces of the desired length, I planed them down to the appropriate widths then chamfered the edges to complement those on the cupboard doors.  A coat of primer, two coats of grey undercoat and two coats of Dove Grey Eggshell later, they were ready to fit using a few dabs of grab adhesive.


Whilst I had the paint brushes out, I finished off the kitchen windows with a white satinwood.  These needed to be done on a nice day as the paint takes 16 hours to dry and I didn't want them sticking to the frames.


After priming the kitchen sub-floor with dilute PVA, I poured a self levelling latex screed around the periphery where it was slightly lower and uneven.  I left the original tiles in situ where they were well stuck down.


Once this had set, tiling could commence.  I started by marking the centre line between the kitchen cupboards then screwed down a temporary batten against which the first row of tiles would be aligned.  I used a 20kg bag of Mapei Mapeker rapid-set flexible adhesive as it was on special offer at Screwfix and far far cheaper than anything of a similar quality from anywhere else.  The tiles were spaced using 2mm spacers.


Then, once a straight line of tiles had been established, the batten was removed and tiling continued...


Sunday, 9 August 2015

Weekly update 09.08.2015

This week Jacqui has continued work on the pantry, stripping off the old paint from the walls.

The staircase has T&G cladding, roughly fitted to the underside.  One of the panels had been cut out at one end to accommodate a protrusion from one of the stairs.  On investigation, the protrusion turned out to be just a small piece of wood nailed to the back edge of one of the treads and seemingly serving no purpose.  I removed the panel and the spurious piece of wood and fitted a new piece of cladding.


With the final coat of paint drying on the cupboard doors, I set about tiling the kitchen walls.  We chose the pistachio PRG40 tile from the Johnson Tiles Prismatics range and these will be arranged in a brick pattern.
 
First though, the bare plaster had to be sealed using a dilute PVA solution.  Then, with the sockets pulled forward, tiling could commence.


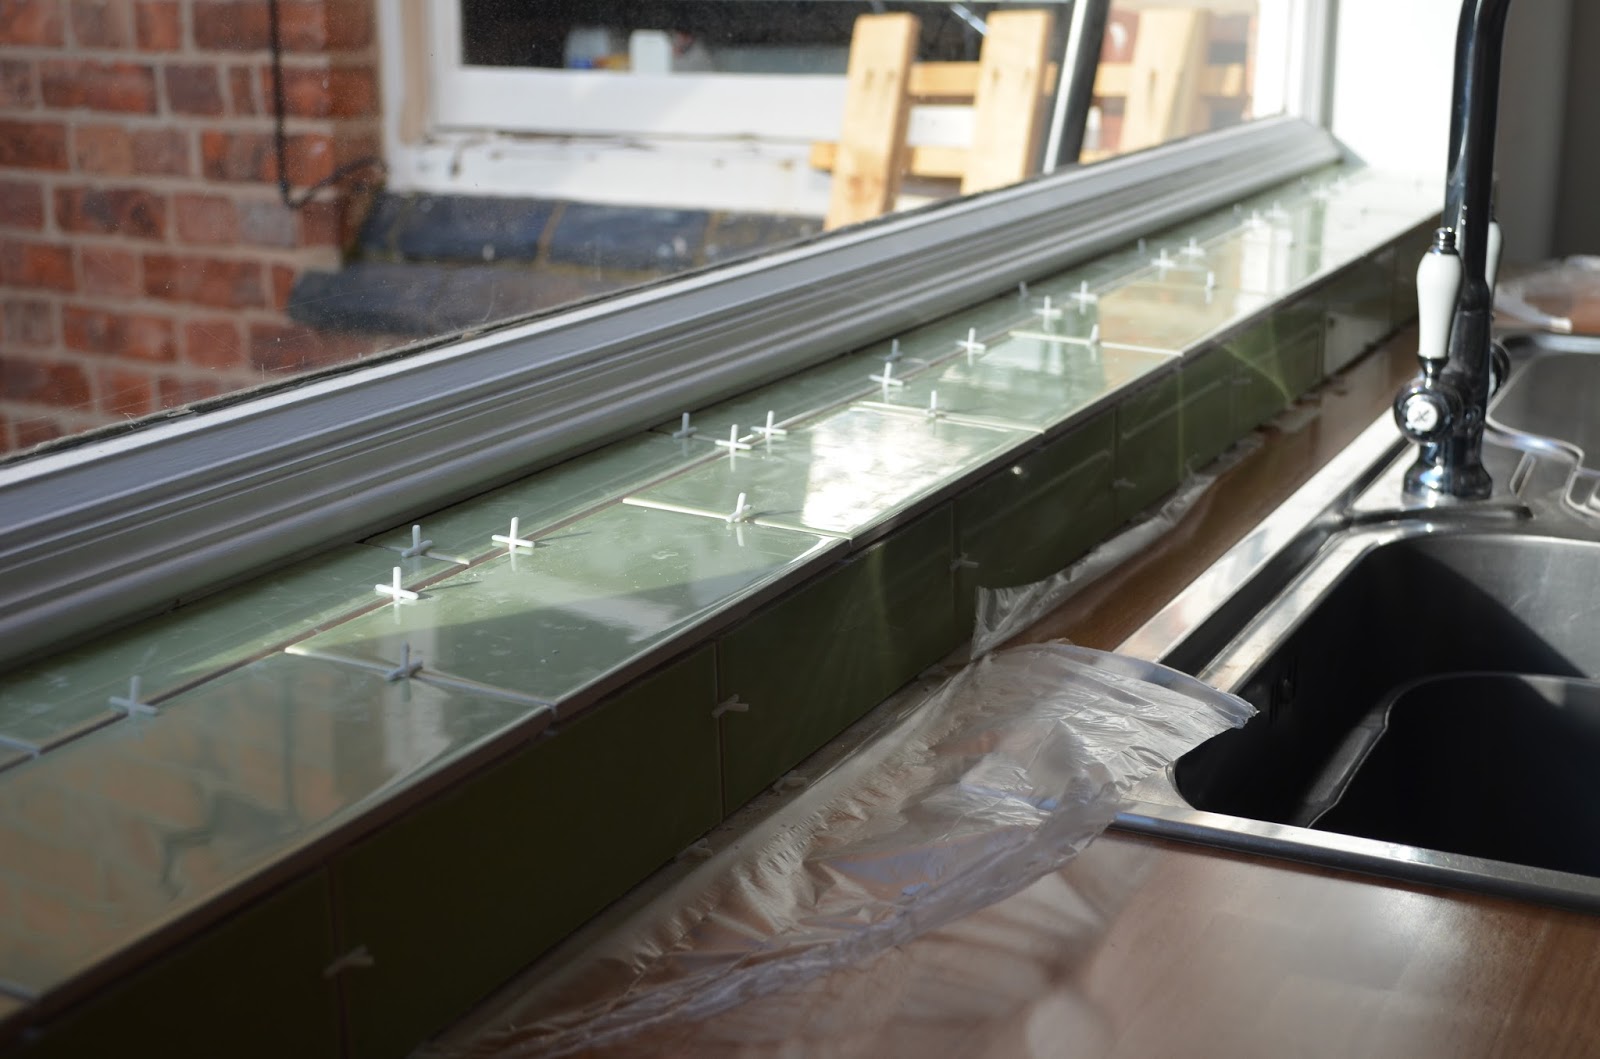
I used 2mm spacers between tiles and also to space the tiles off the worktop.  Whole tiles were fitted first, leaving the fiddly cut bits till later.


More by luck than judgement, each of the three mains sockets ended up within the space of a whole tile, so a bit of careful cutting was called for.


First, the tile was masked so that the cut-out could be easily drawn on...


...then, using a special tile drill bit, the corners were drilled.  The masking tape also helps to stop the drill bit from wandering across the glossy tile surface.


With the holes drilled, the tile saw could be inserted and the inner section cut out.


Finally, the cut tile is fitted.


The window ledge proved a bit of a challenge as it is slightly bowed in both planes across its length so each tile had to be cut to a slightly different size to accommodate.


With the adhesive left to set overnight, the spacers were removed the following day, then the tiles were grouted using a waterproof, mould resistant grout.


Whilst waiting for grout to set, I put a few of the cupboard doors up to see how they would look.


Once the grout had set, I removed the inevitable film of grout from the surface of the tiles and polished them to a nice shiny finish.